Connect LoRa Server
Summary
This article aims to describe how to connect HT-M00S to a LoRa server, such as TTN/TTS, ChirpStack, which facilitates secondary development and rapid deployment of LoRa devices.
Before all operation, make sure the HT-M00S is running well . If not, please refer to this HT-M00S_Quick Start document.
- Connect to TTN/TTS
- Connect to ChirpStack Server
- Connect to SnapEmu
Register a LoRa gateway in TTN/TTS
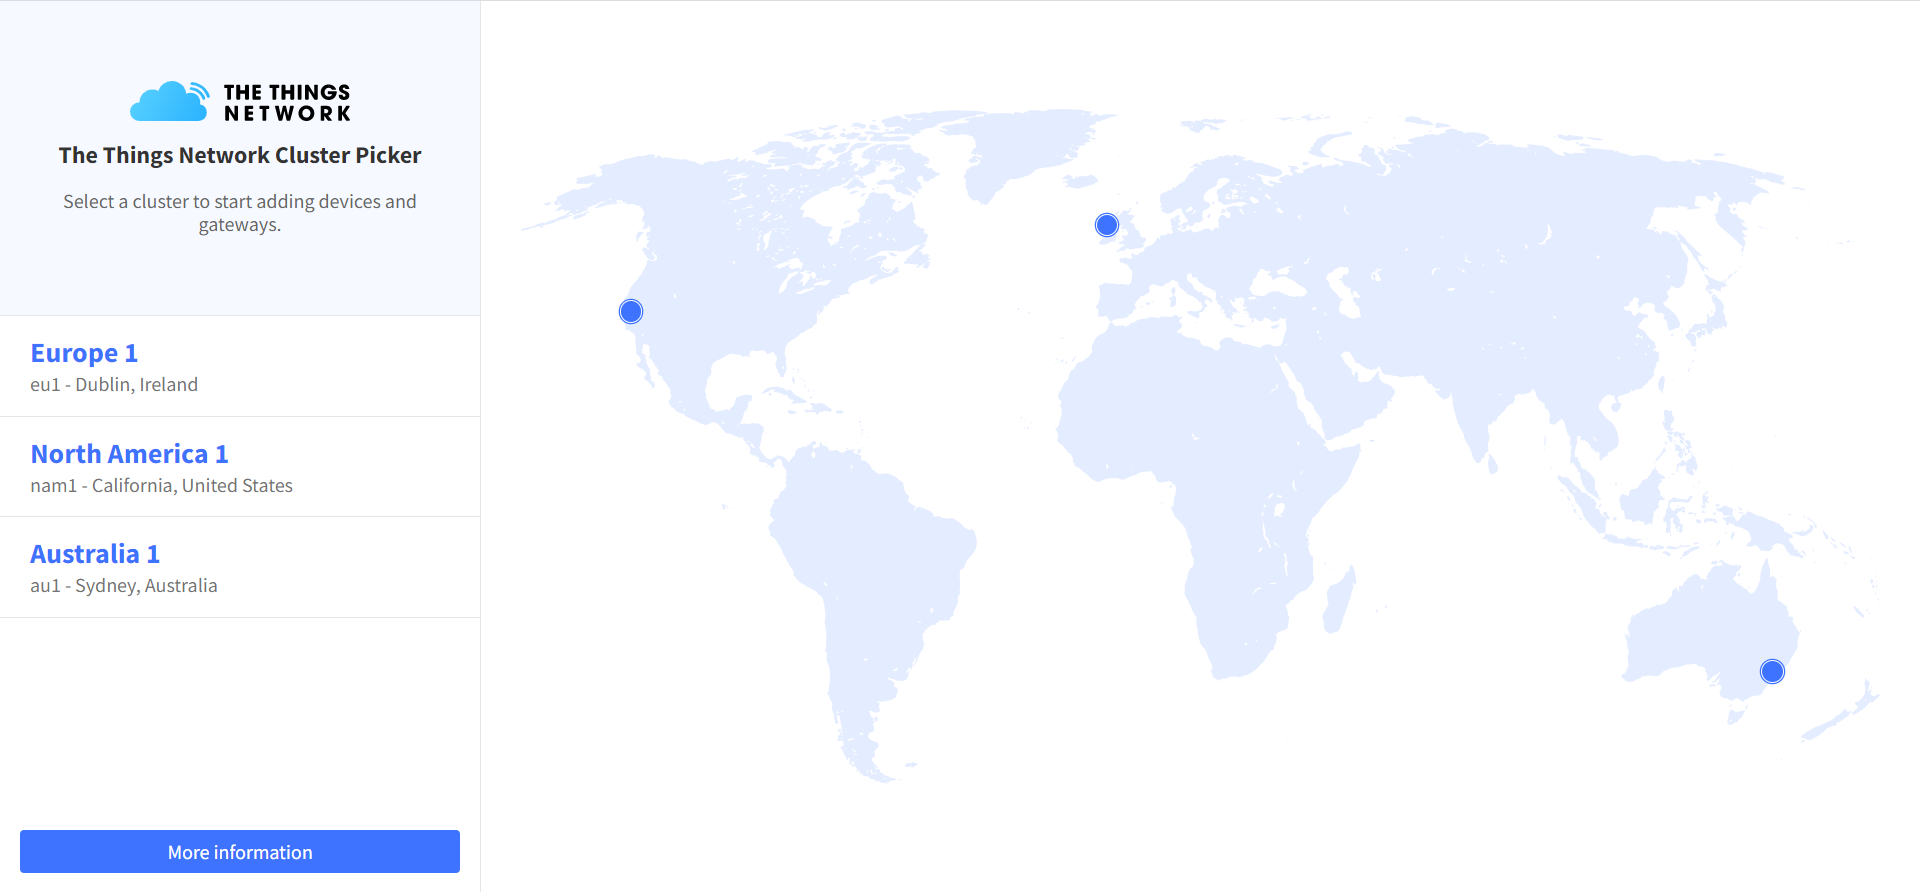
Select a cluster in the TTN console page to start adding devices and gateways. Or start adding devices and gateways in TTS console.
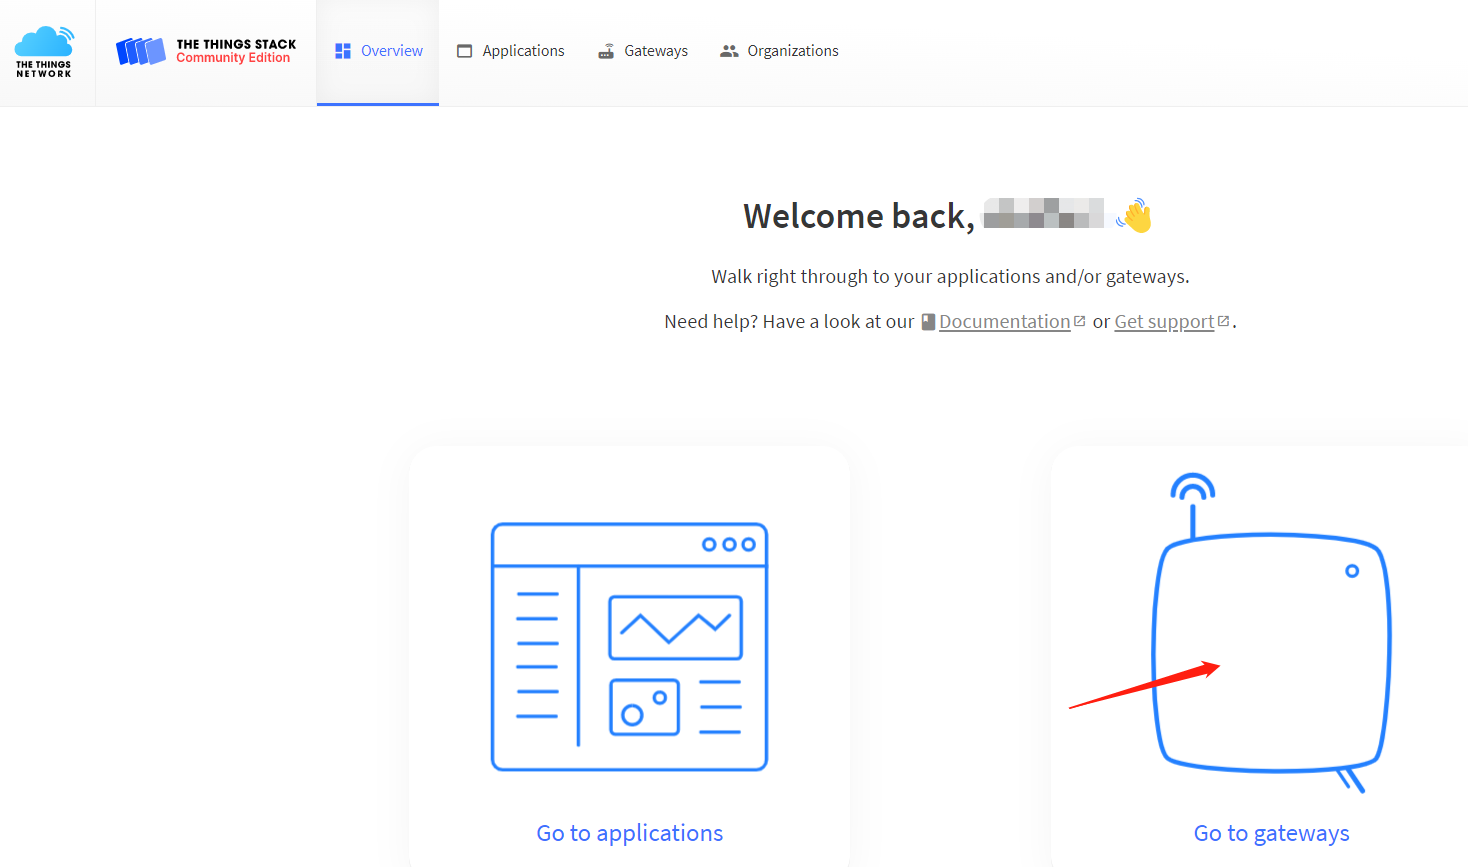
Create a new gateway.
Fill in the HT-M00S information as shown below and complete the addition.
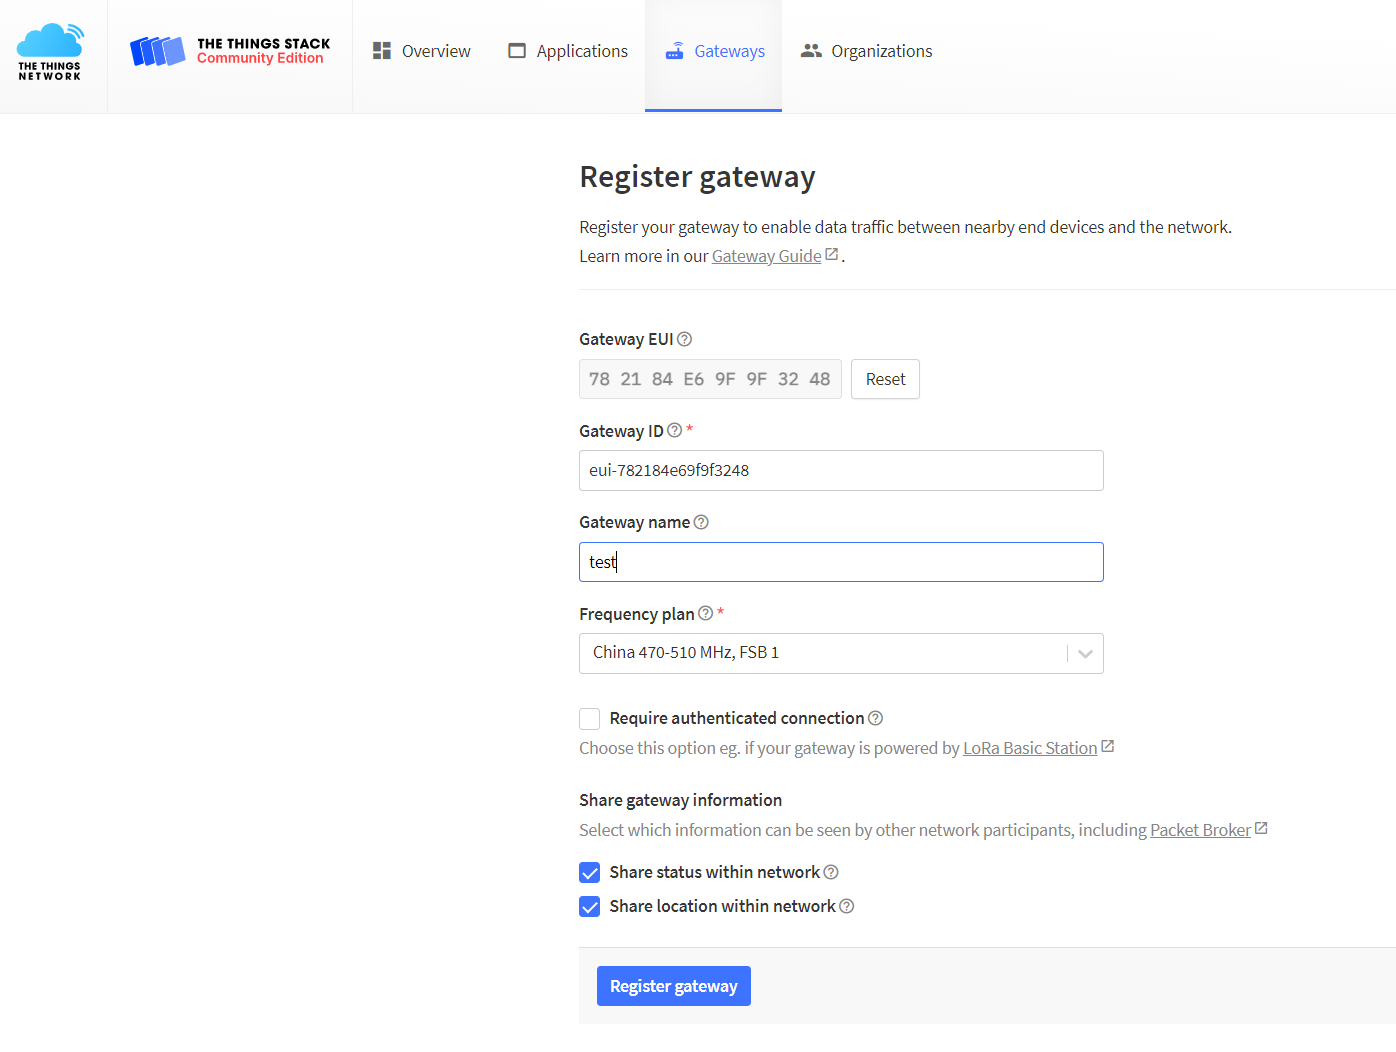
- Gateway EUI -- The unique ID of HT-M00S gateway, view from configuration page.
- Gateway ID -- Generated by default.
- Gateway name -- Filled in by the user, can be filled in arbitrarily.
- Frequency Plan -- Matches the LoRa band configuration in HT-M00S.
Configure the Gateway
Configuring the gateway, please refer to the HT-M00S document.
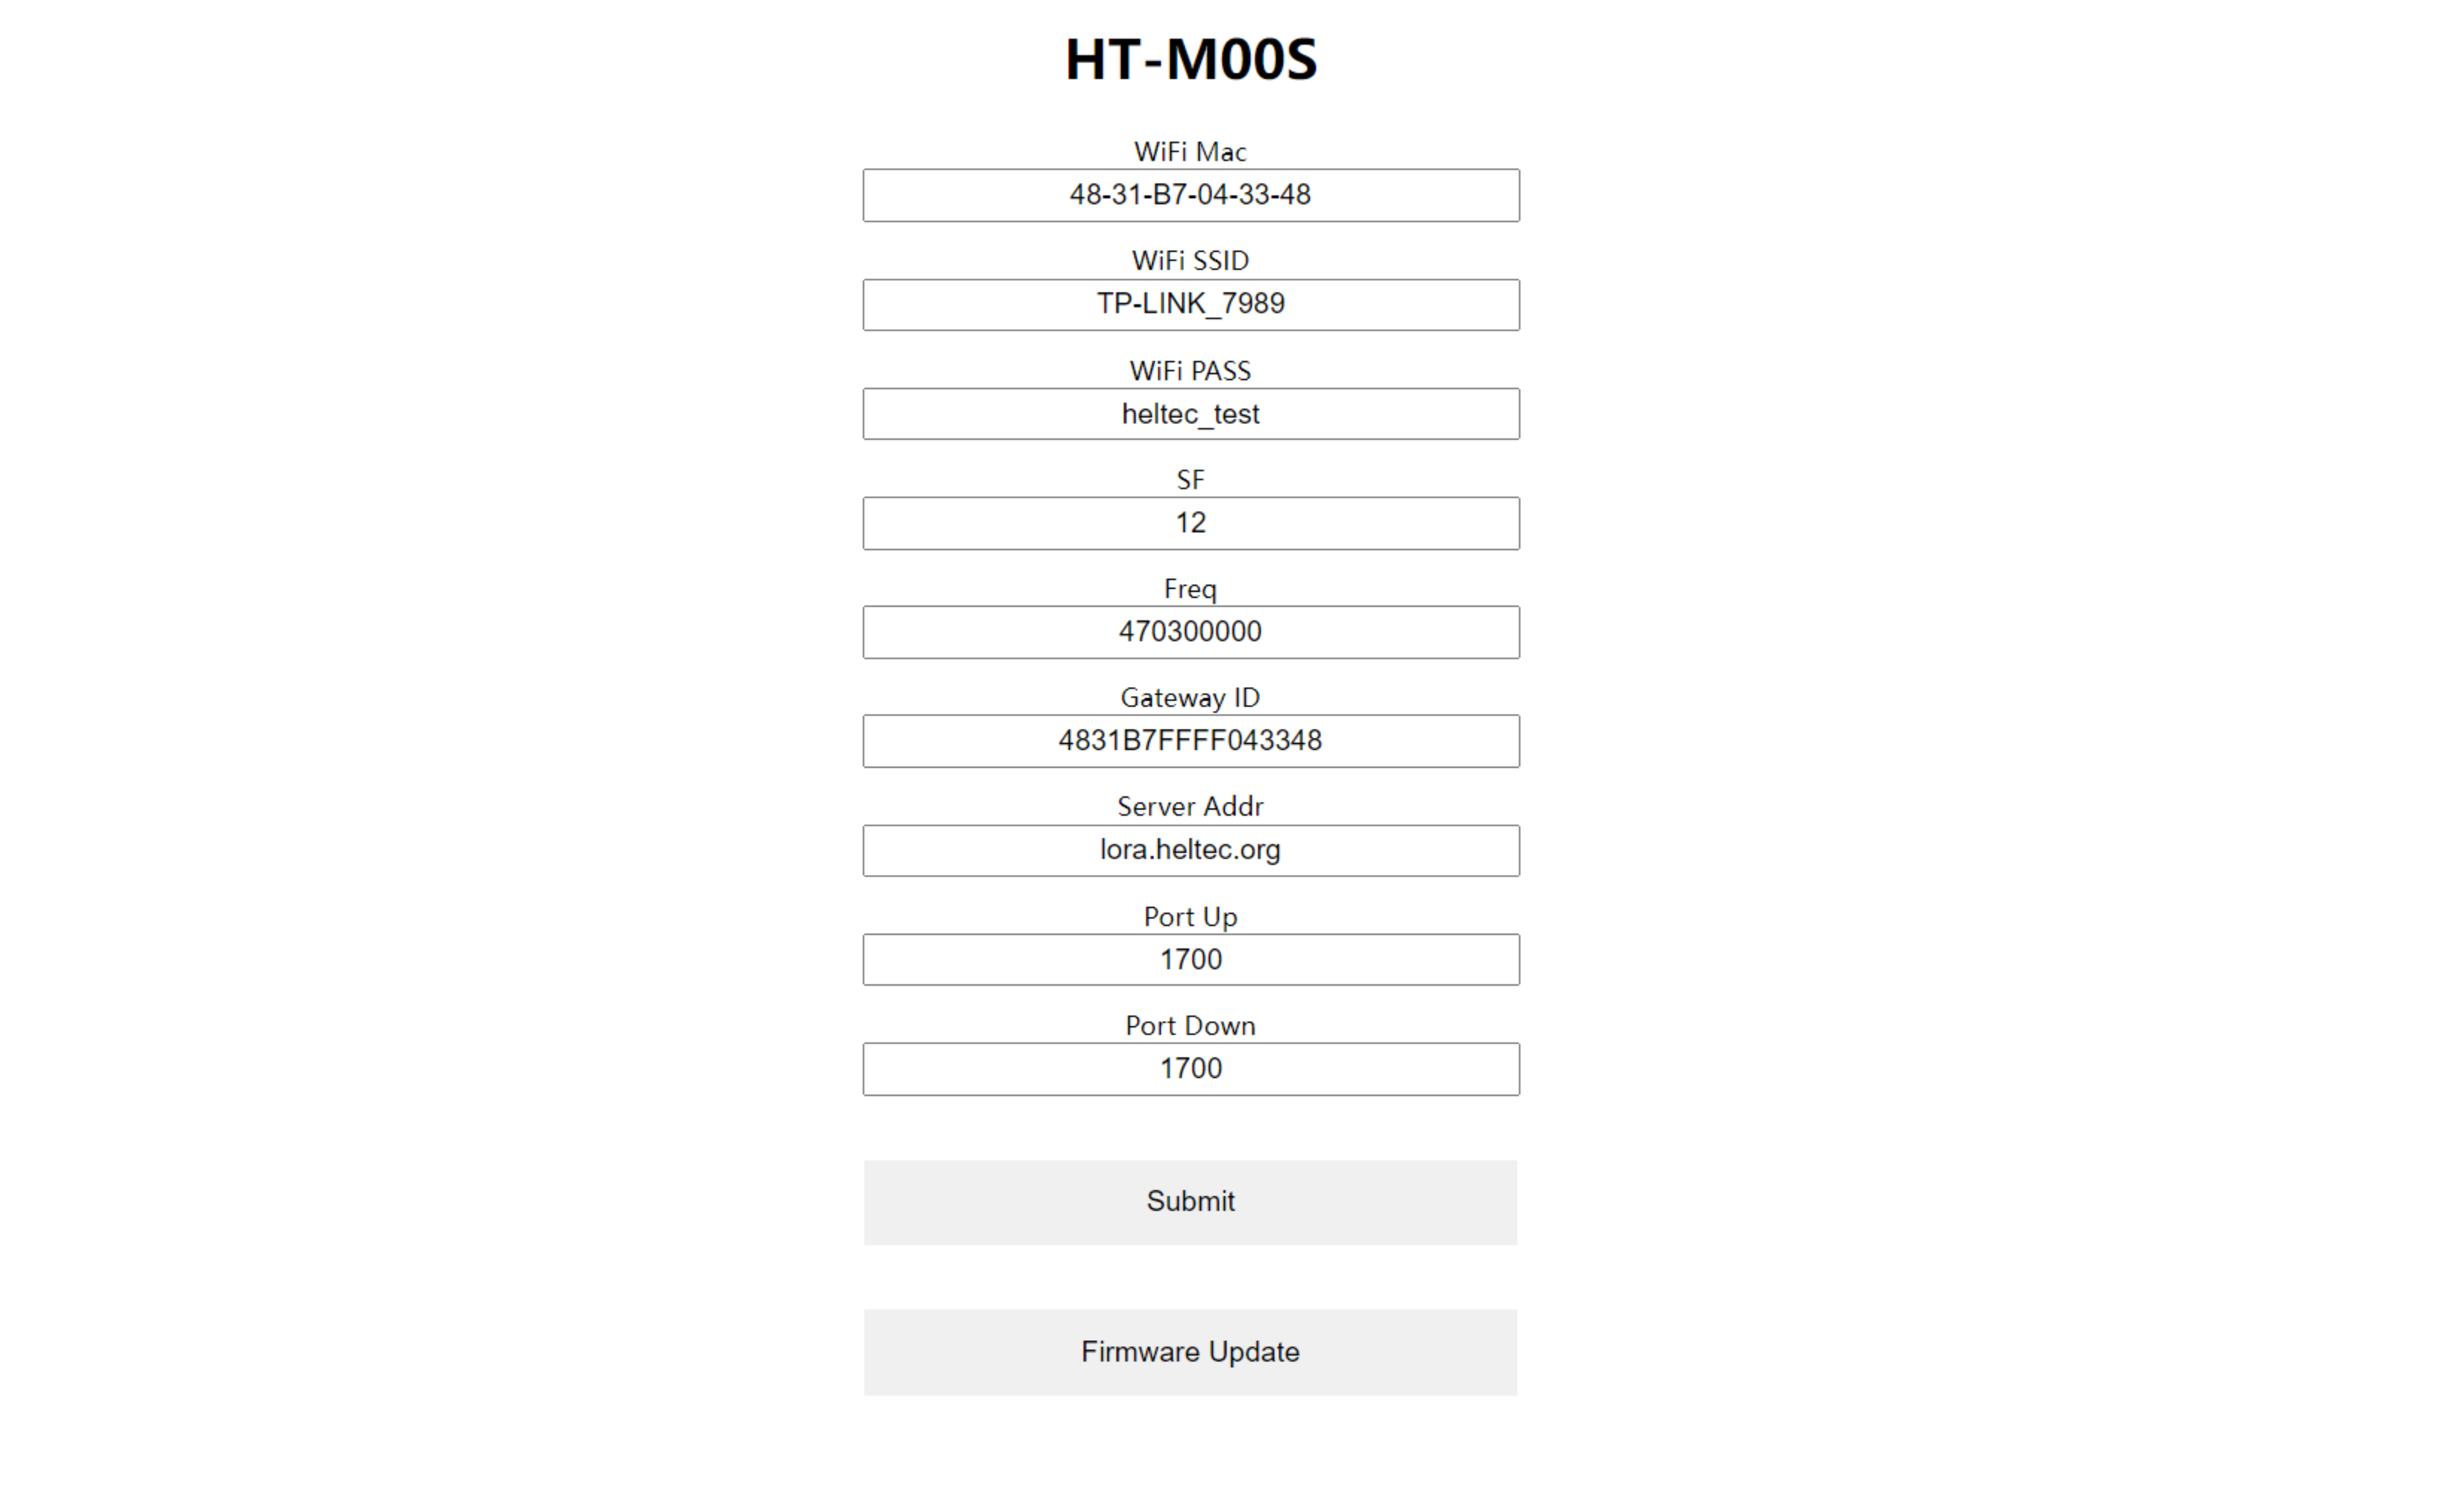
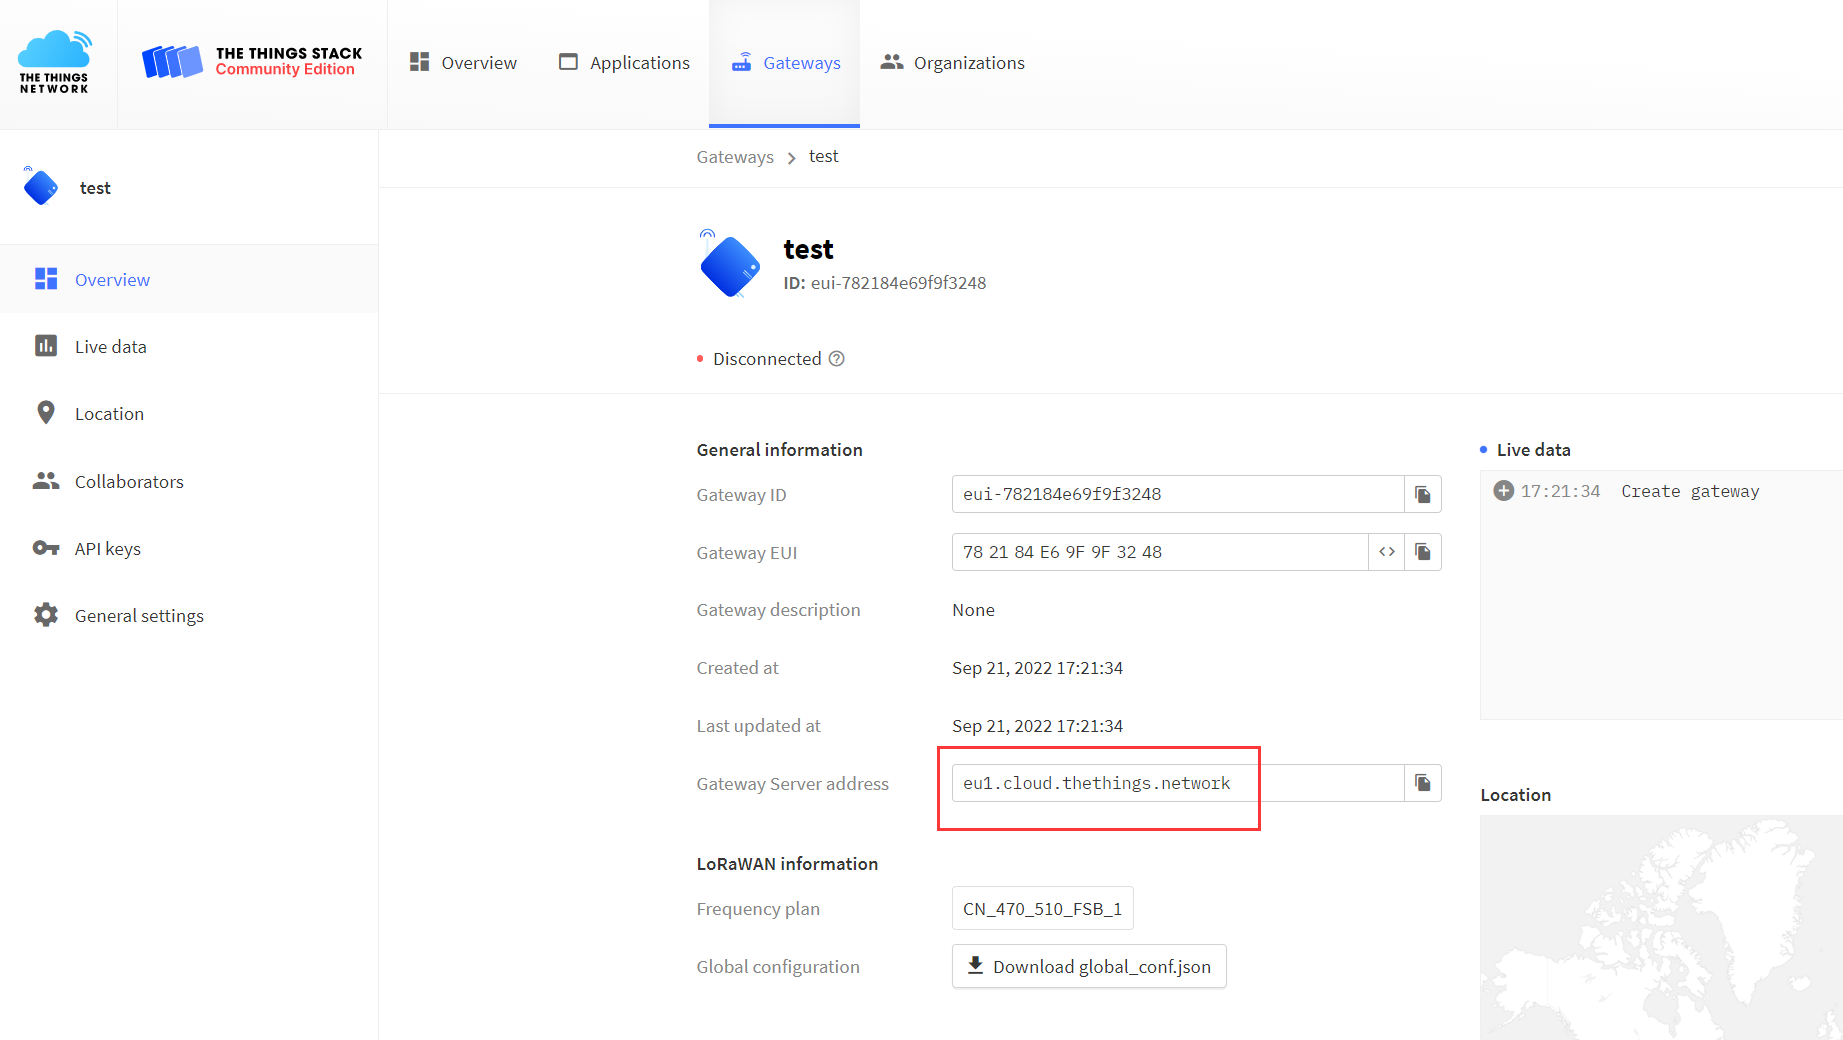
Check the server address in the gateway details.
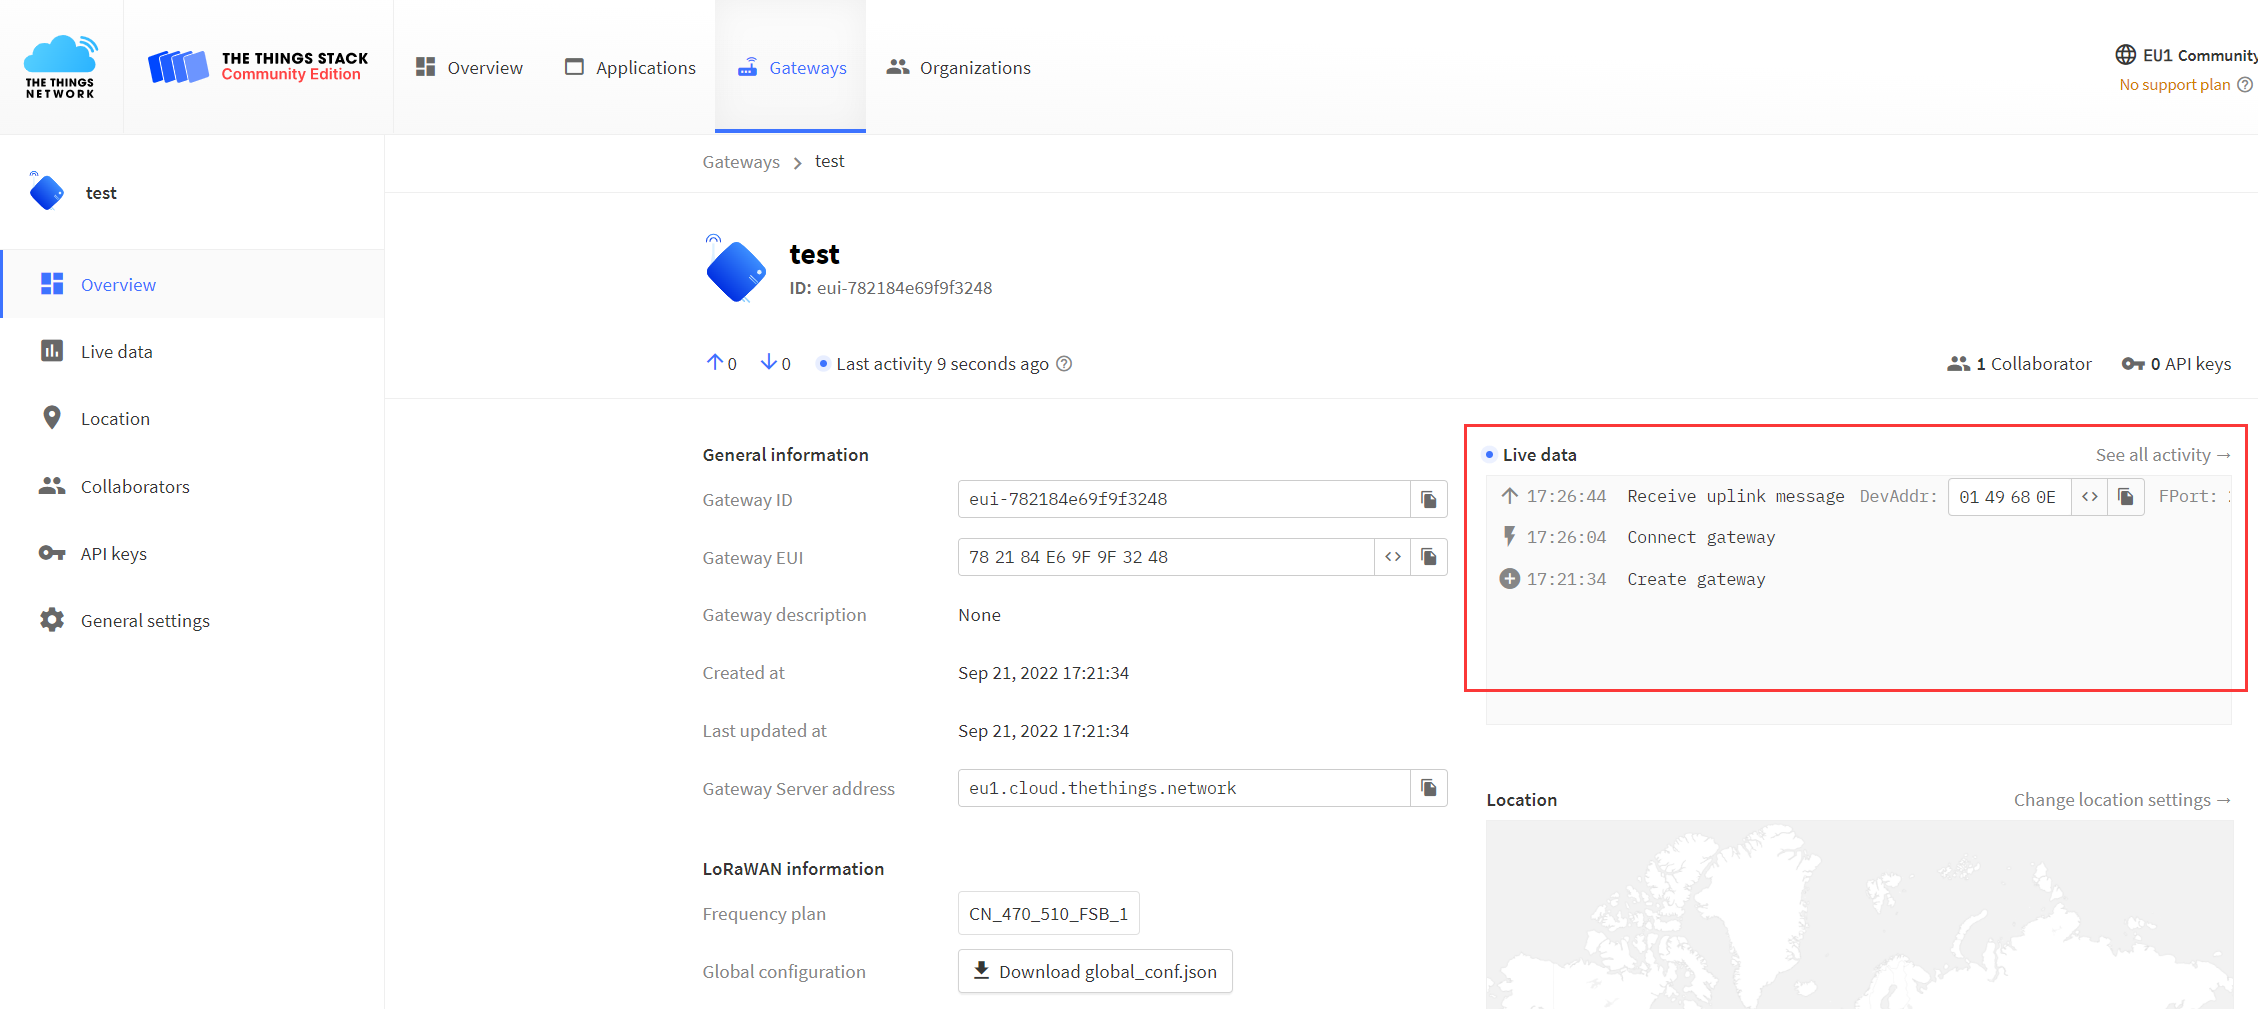
View gateway status, it is running:
ChirpStack is the most popular LoRa server open source project, widely used in many fields, and also the best choise for a private LoRa server.
- ChirpStack Installation guide: https://www.chirpstack.io/overview/
- ChirpStack support forum: https://forum.chirpstack.io/
ChirpStack Gateway Bridge
One thing need attention! the ChirpStack need a special service named Gateway Bridge, which converts LoRa® Packet Forwarder protocols into a ChirpStack Network Server common data-format (JSON and Protobuf).
the Gateway Bridge service can running on the Raspberry Pi or the ChirpStack server.
Install ChirpStack Gateway Bridge: https://www.chirpstack.io/gateway-bridge/install/debian/
Register LoRa Gateway in ChirpStack
Fill in the HT-M00S information as shown below and complete the addition.
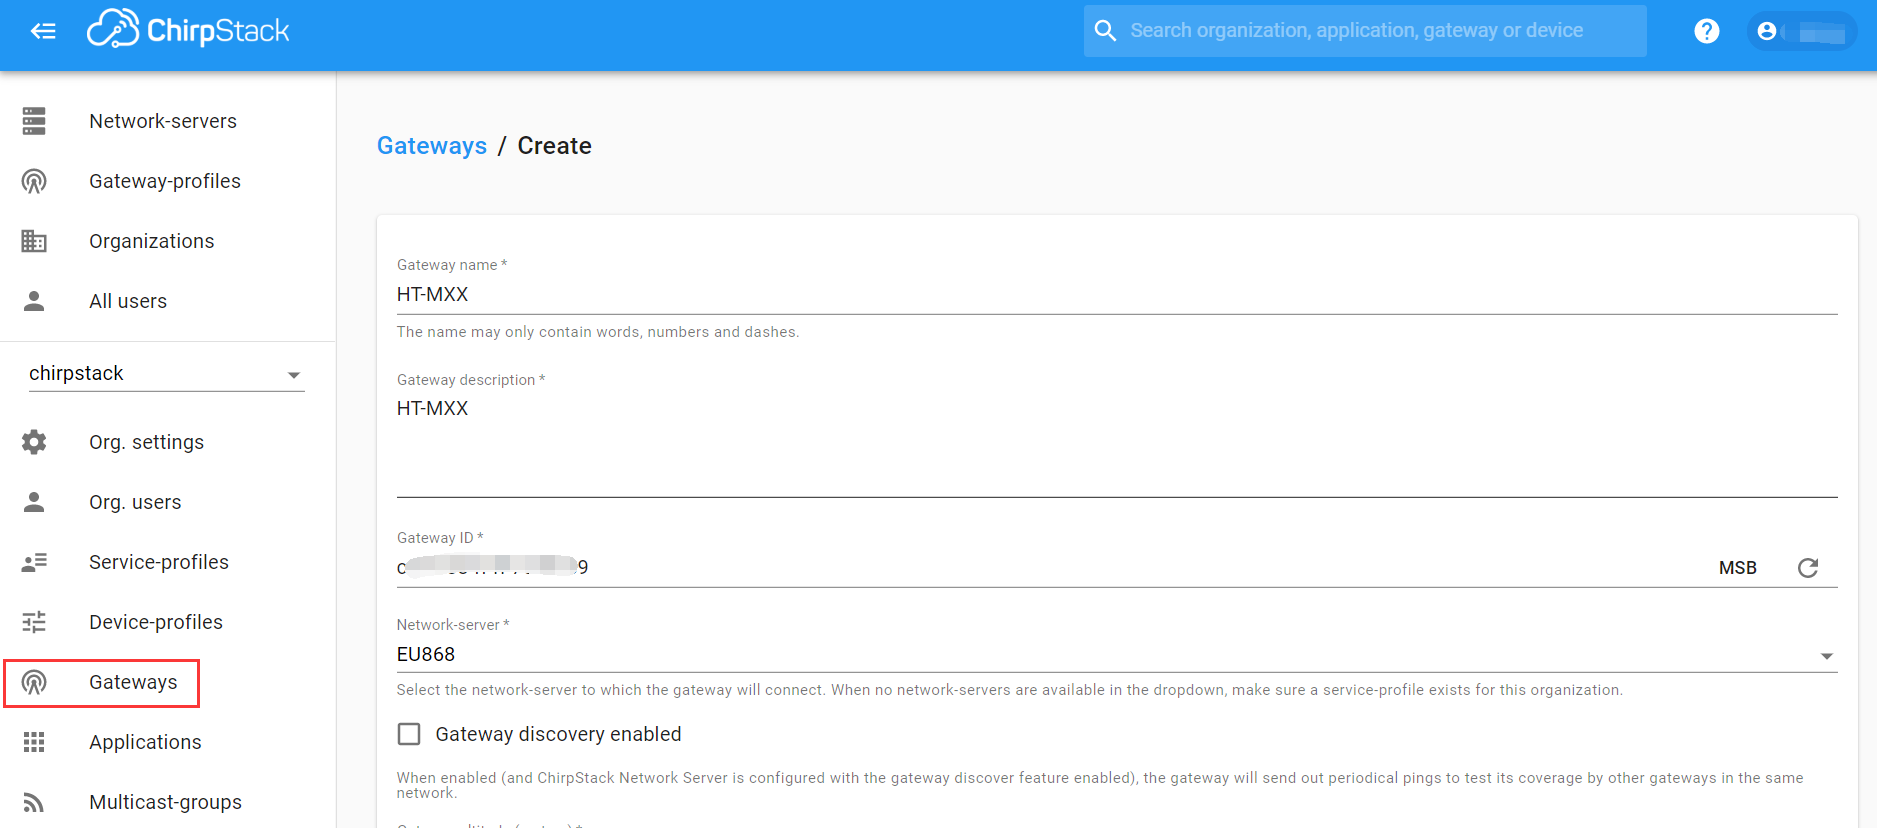
- Gateway ID -- The unique ID of HT-M00S gateway, view from configuration page.
Connect to ChirpStack server
Configure M00S, note that the parameters match the registration information on the server, please refer to the HT-M00S document.
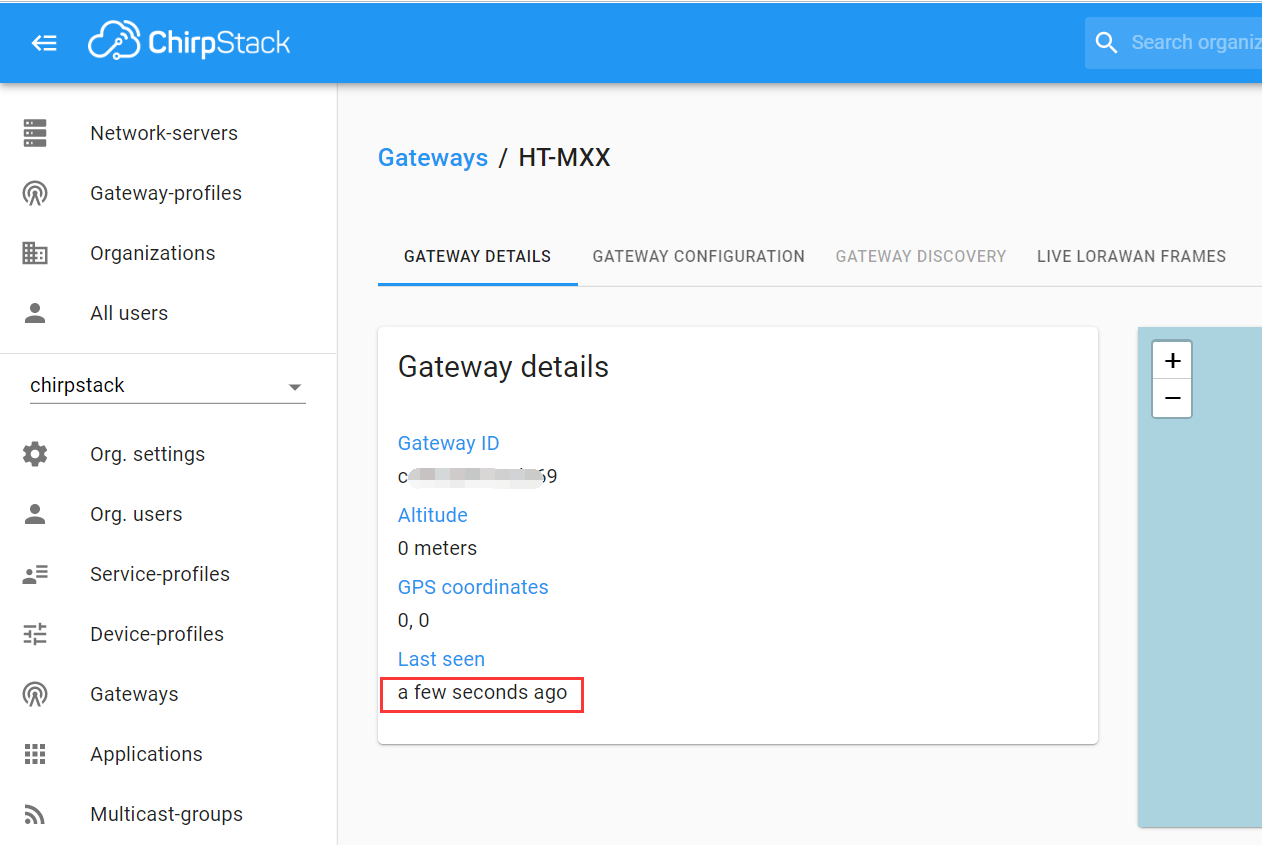
View gateway status, it is running:
Register through SnapEmu APP
Search the App Store for SnapEmu, download and install it.
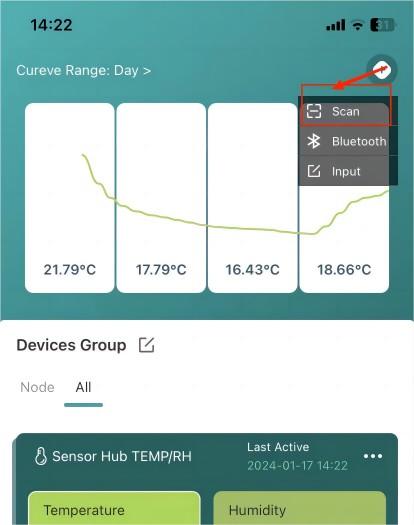
Open the Scan option to scan the Heltec device QR code.
If the device does not have a QR code, click 'Input' for manual registration. For product information you can refer to the corresponding 'Quick Start'.
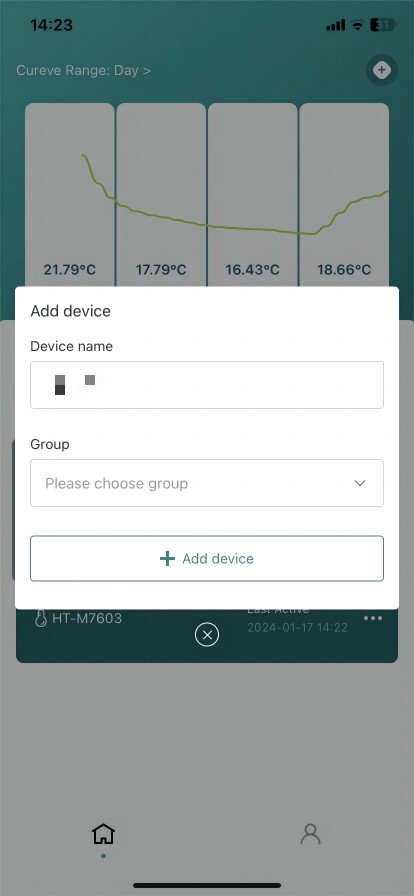
Fill in the group and add the device.
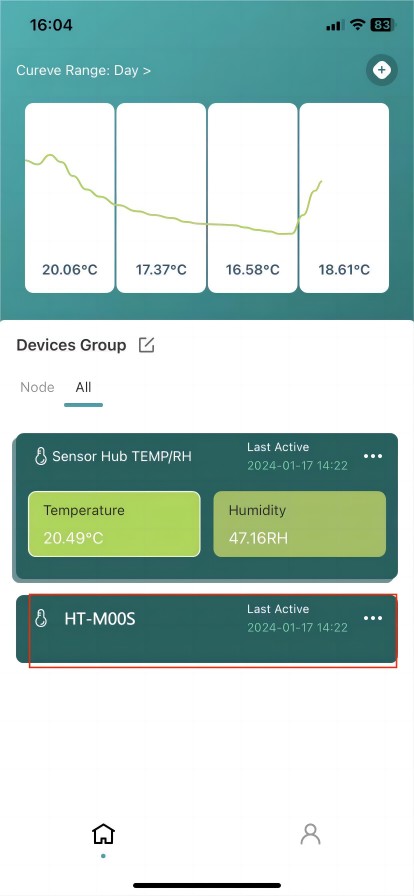
Registration is completed and the device display is activated.
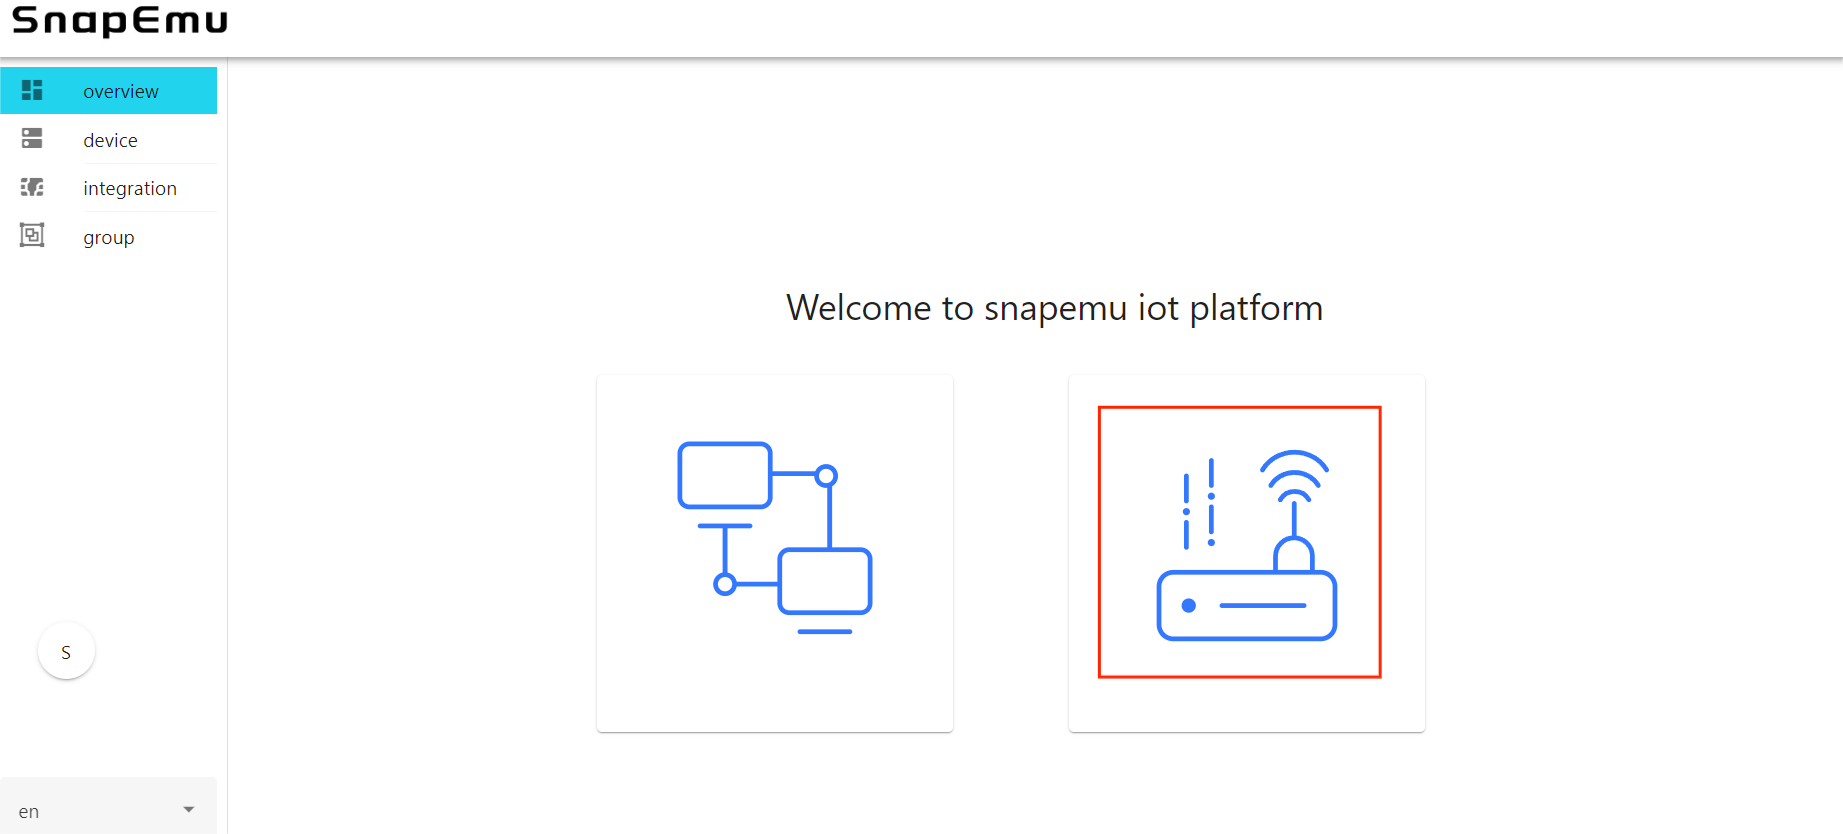
Manual registration through the SnapEmu IoT Platform webpage
Register and log in to SnapEmu: SnapEmu Web Page link.
Click where shown below.
Click CREATE A NEW DEVICE.
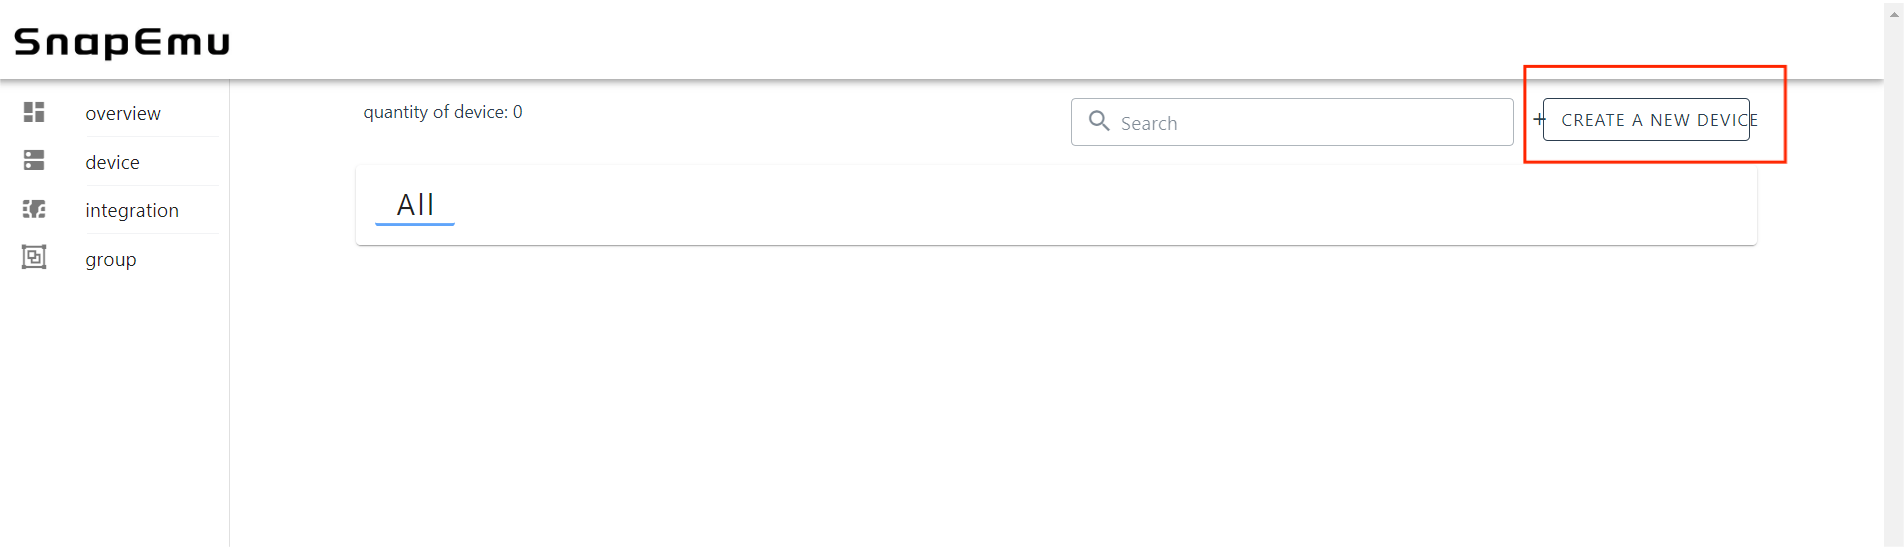
Go to the device registration page.
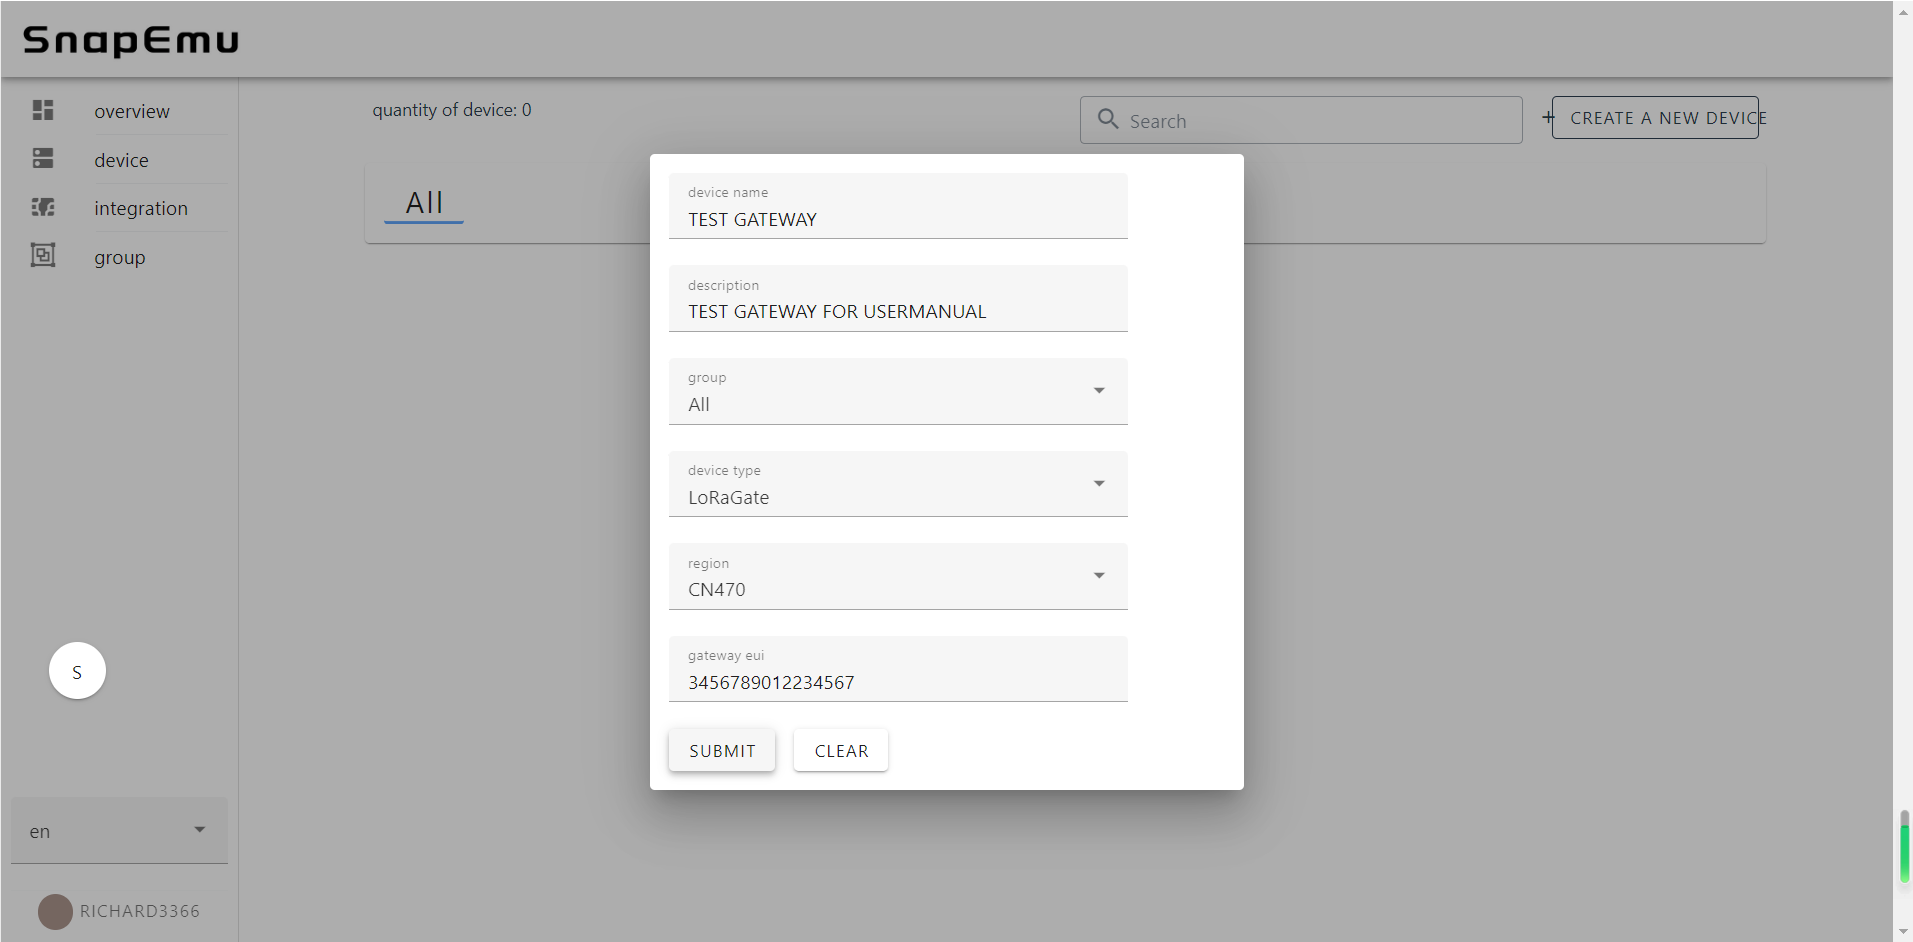
NameandDescriptioncan be filled in freely, and they will become the name and remark of the device displayed on the platform.Groupdenotes the grouping of the device on SnapEmu.Device typeThis device is a gateway, so choose "LoRaGate".RegionMatch the frequency band of the gateway.GatewayEUIGateway ID, through device configuration page or scan the device QR code to obtain.
After filling in the information, click Submit and refresh the page to see the device.
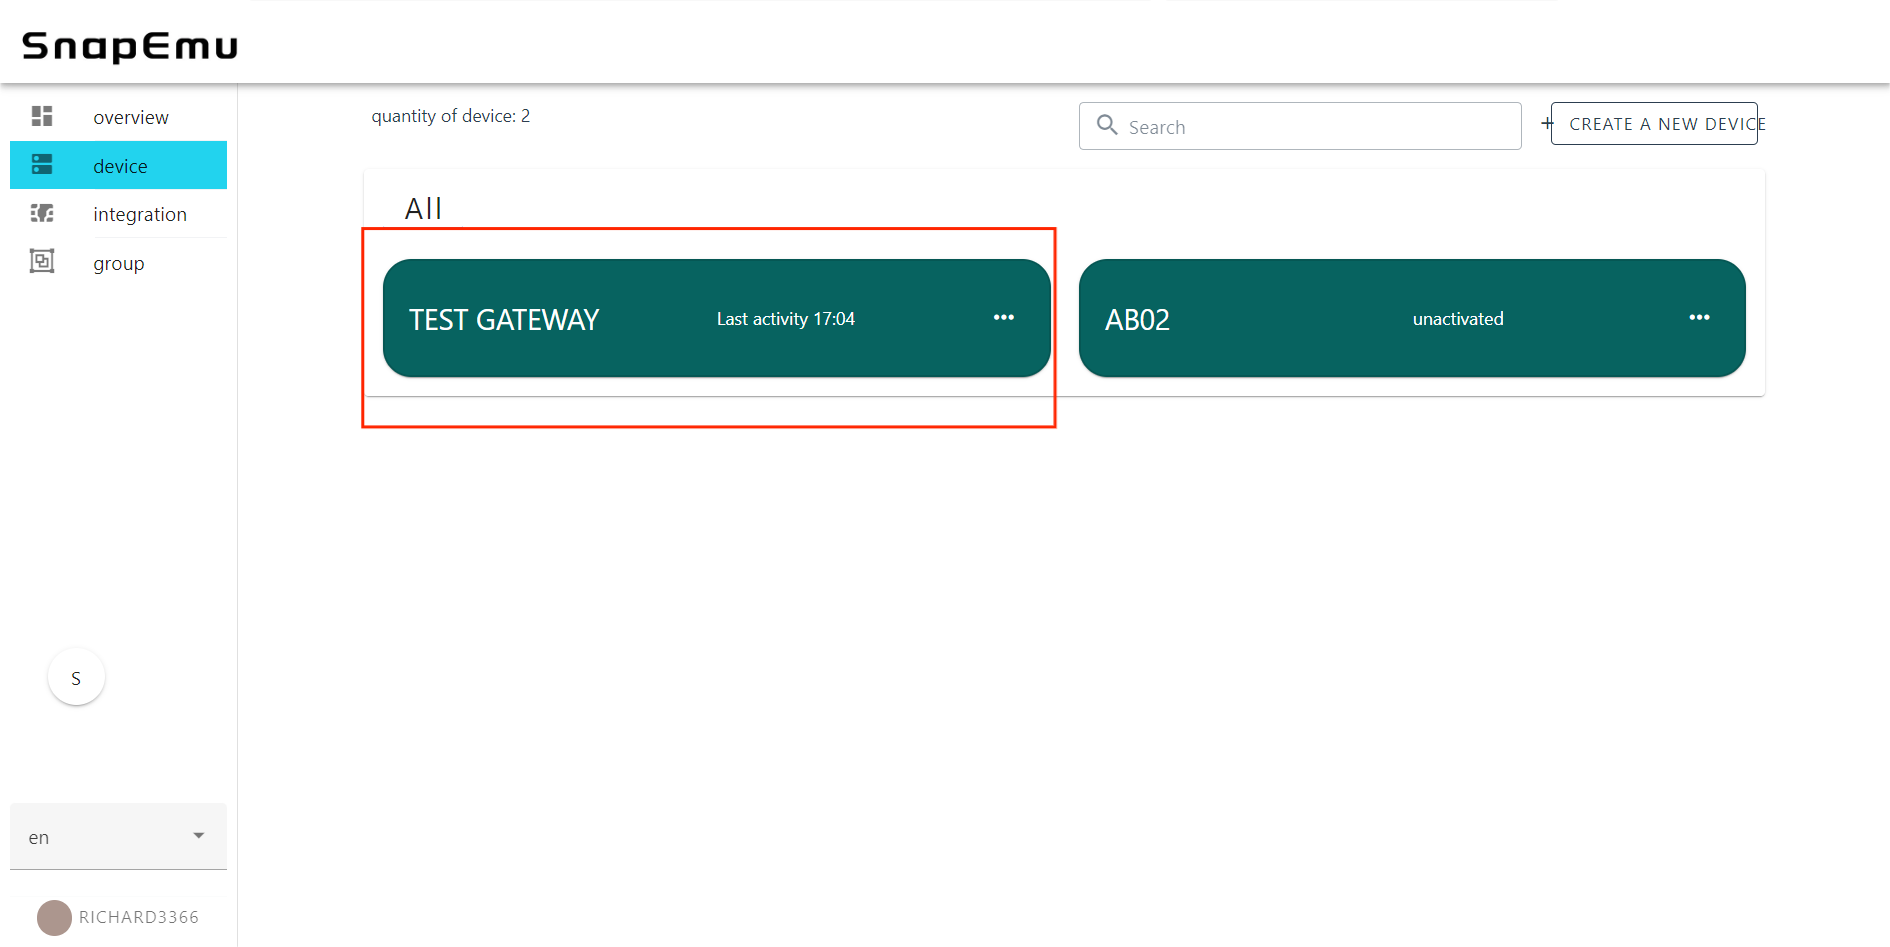
If the device shows "unactiveted", it means that the device was not successfully connected. Don't worry, it usually takes some time for the server to respond, please wait a minute and refresh the web page again.