ChirpStack Deployment via Docker
We recommend deploying ChirpStack using Docker for a simpler and more reliable setup. If you prefer not to use Docker, please refer to the official documentation.
Step 1 Install Docker
Updates the package list (required before installation).
sudo apt update
Installs Docker and required dependencies -y auto-confirms installation.
sudo apt install -y ca-certificates curl gnupg lsb-release docker
Step 2 Enable Docker for Current User
Adds the current user to the Docker group, allowing Docker commands to be run without sudo.
sudo usermod -aG docker $USER
Log out and log back in or reboot to apply changes.
Step 3 Install Git and Clone Project
Installs Git
sudo apt install -y git
Downloads the ChirpStack Docker project
git clone https://github.com/Bei-Ji-Quan/chirpstack-docker.git
Enters the project directory
cd chirpstack-docker
Step 4 Starts all ChirpStack Services
Start the ChirpStack services
docker compose up -d
Before running ./run_chirpstack_server us915_1, it is recommended to execute the following command to stop and clean up any existing containers:
docker compose down
automatically deploys Docker containers; the parameter us915_1 specifies the LoRaWAN frequency band and must match your deployment region. The table below lists the mapping between regions and frequency bands—simply change the parameter to the desired band and run the command accordingly.
./run_chirpstack_server us915_1
For example, if you need to switch from the US915 band to the EU868 band, you can replace ./run_chirpstack_server us915_1 with ./run_chirpstack_server eu868.
LoRaWAN Frequency Band Table
| Region / Band | Uplink Frequency Range (MHz) | Uplink Frequency (BW125K / SF7–12) | Uplink Frequency (BW250K) | Uplink Frequency (BW500K) |
|---|---|---|---|---|
| as923 | 923.2–924.6 | 923.2–924.6 | — | — |
| as923_2 | 921.4–922.8 | 921.4–922.8 | — | — |
| as923_3 | 916.6–918.0 | 916.6–918.0 | — | — |
| as923_4 | 917.3–918.7 | 917.3–918.7 | — | — |
| au915_0 | 915.2–916.6 | 915.2–916.6 | — | 915.9 (SF8) |
| au915_1 | 916.8–918.2 | 916.8–918.2 | — | 917.5 (SF8) |
| au915_2 | 918.4–919.8 | 918.4–919.8 | — | 919.1 (SF8) |
| au915_3 | 920.0–921.4 | 920.0–921.4 | — | 920.7 (SF8) |
| au915_4 | 921.6–923.0 | 921.6–923.0 | — | 922.3 (SF8) |
| au915_5 | 923.2–924.6 | 923.2–924.6 | — | 923.9 (SF8) |
| au915_6 | 924.8–926.2 | 924.8–926.2 | — | 925.5 (SF8) |
| au915_7 | 926.4–927.8 | 926.4–927.8 | — | 927.1 (SF8) |
| cn470_0 | 470.3–471.7 | 470.3–471.7 | — | — |
| cn470_1 | 471.9–473.3 | 471.9–473.3 | — | — |
| cn470_2 | 473.5–474.9 | 473.5–474.9 | — | — |
| cn470_3 | 475.1–476.5 | 475.1–476.5 | — | — |
| cn470_4 | 476.7–478.1 | 476.7–478.1 | — | — |
| cn470_5 | 478.3–479.7 | 478.3–479.7 | — | — |
| cn470_6 | 479.9–481.3 | 479.9–481.3 | — | — |
| cn470_7 | 481.5–482.9 | 481.5–482.9 | — | — |
| cn470_8 | 483.1–484.5 | 483.1–484.5 | — | — |
| cn470_9 | 484.7–486.1 | 484.7–486.1 | — | — |
| cn470_10 | 486.3–487.7 | 486.3–487.7 | — | — |
| cn470_11 | 487.9–489.3 | 487.9–489.3 | — | — |
| eu433 | 433.175–433.575 | 433.175–433.575 | — | — |
| eu868 | 867.1–868.5 | 867.1–868.5 | 868.3 (SF7) | — |
| in865 | 865.0625 / 865.4025 / 865.985 | 865.0625 / 865.4025 / 865.985 | — | — |
| kr920 | 922.1–922.5 | 922.1–922.5 | — | — |
| ru864 | 868.9–869.1 | 868.9–869.1 | — | — |
| us915_0 | 902.3–903.7 | 902.3–903.7 | — | 903.0 (SF8) |
| us915_1 | 903.9–905.3 | 903.9–905.3 | — | 904.6 (SF8) |
| us915_2 | 905.5–906.9 | 905.5–906.9 | — | 906.2 (SF8) |
| us915_3 | 907.1–908.5 | 907.1–908.5 | — | 907.8 (SF8) |
| us915_4 | 908.7–910.1 | 908.7–910.1 | — | 909.4 (SF8) |
| us915_5 | 910.3–911.7 | 910.3–911.7 | — | 911.0 (SF8) |
| us915_6 | 911.9–913.3 | 911.9–913.3 | — | 912.6 (SF8) |
| us915_7 | 913.5–914.9 | 913.5–914.9 | — | 914.2 (SF8) |
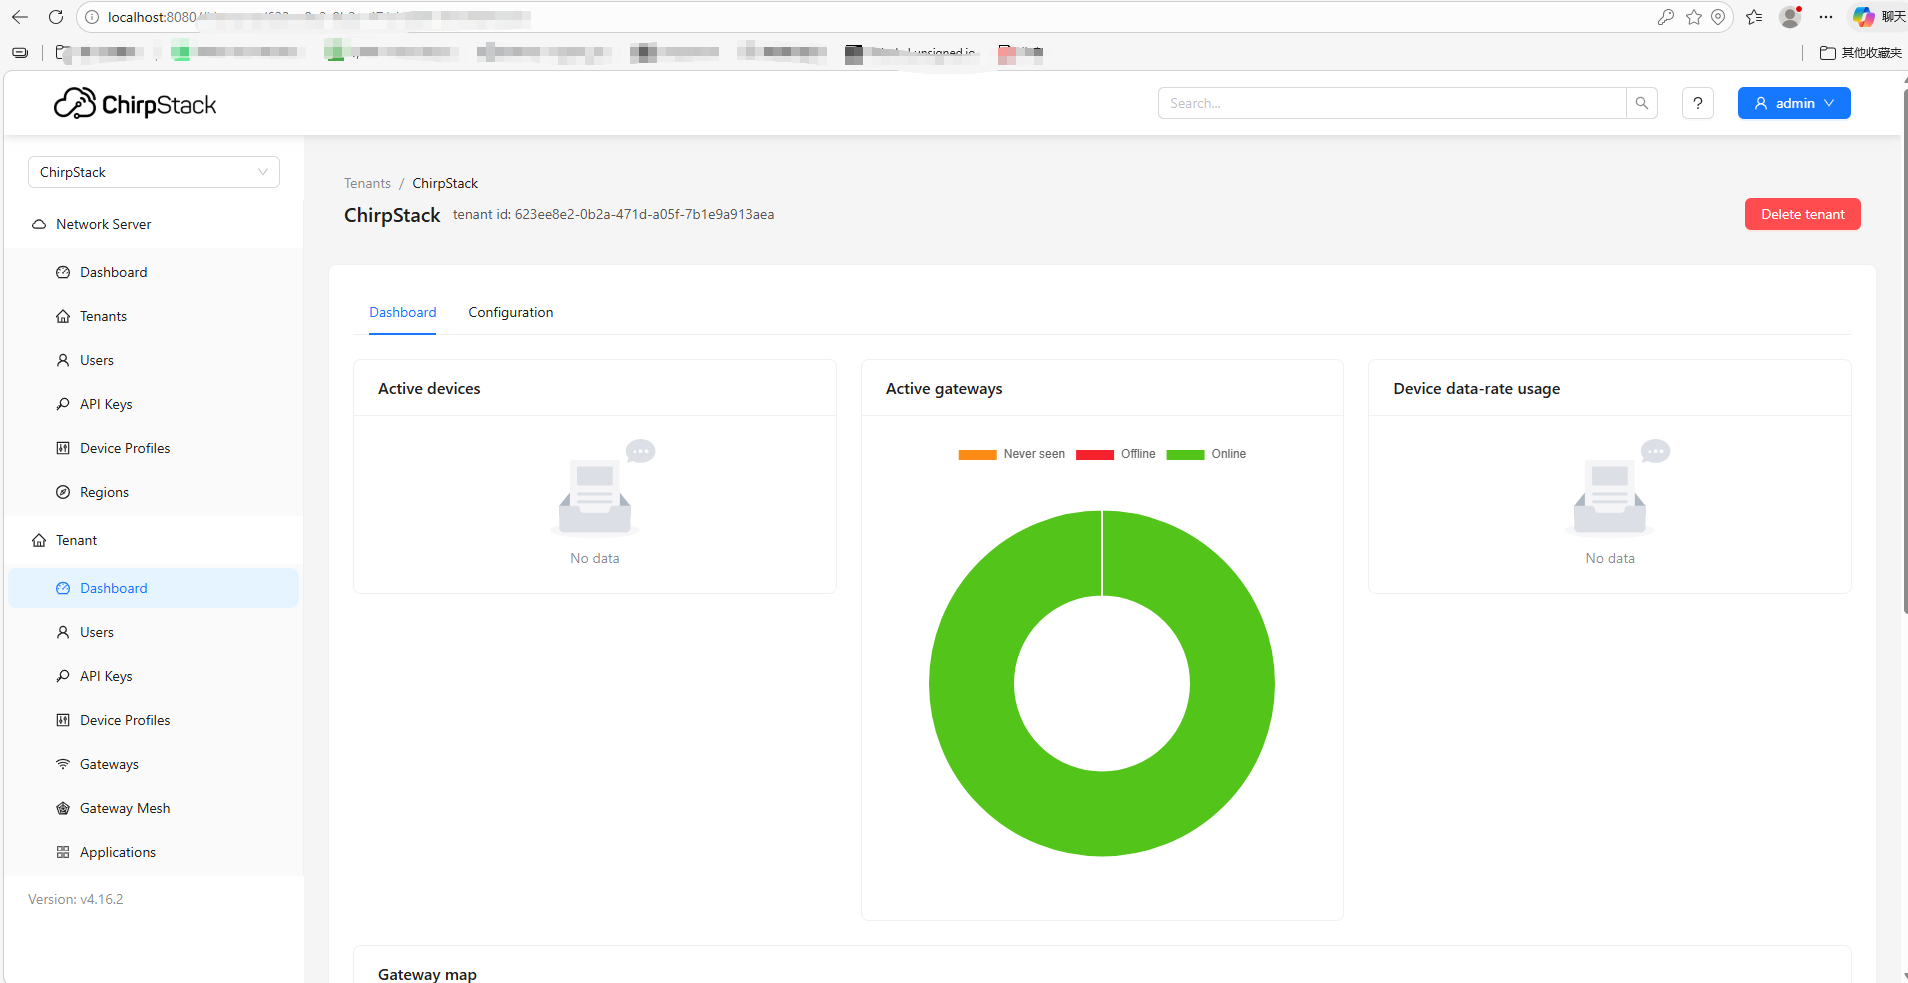
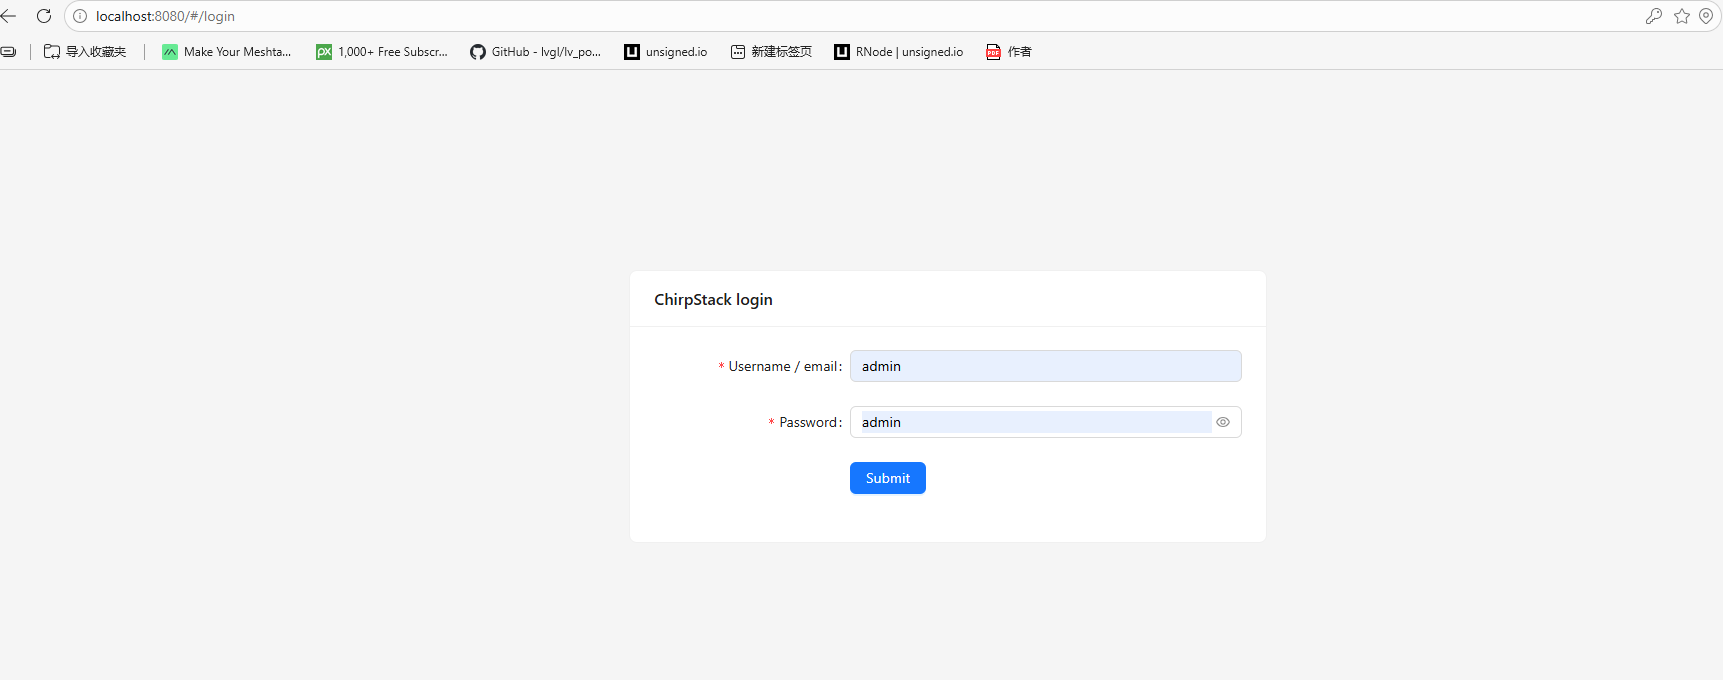
Once the services are running, access the ChirpStack web interface via
http://localhost:8080
The default username and password are both: admin
After completing the above steps, ChirpStack is successfully deployed.