Touchscreen Version Meshtastic Guide
For hardware version V4.3, please use firmware version 2.7.20 or above.
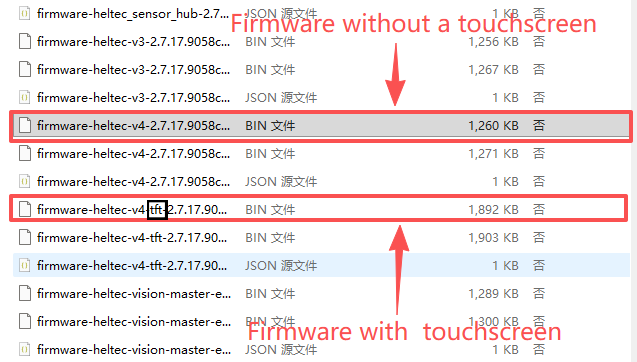
Defualt OLED screen version and touchscreen version require different firmware files.
Firmware Flashing
Web Flasher
- Enter Bootloader mode
Since the CP2102 has been removed in the V4 version, you must enter Bootloader mode when flashing the firmware. The method is as follows:
- Connect the USB-C cable.
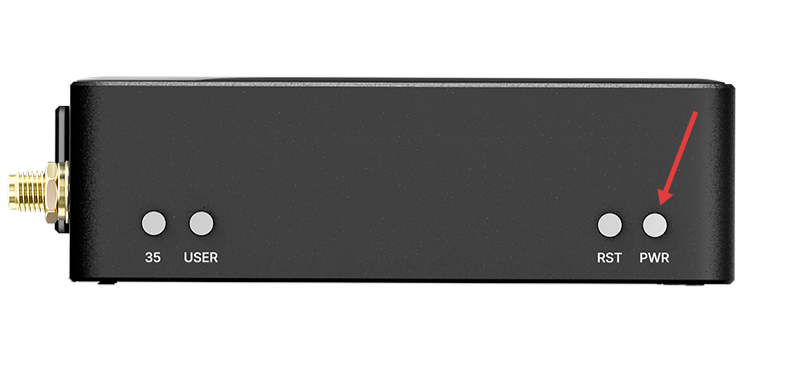
- Press and hold the USER button, press the RST button once, then release the USER button
-
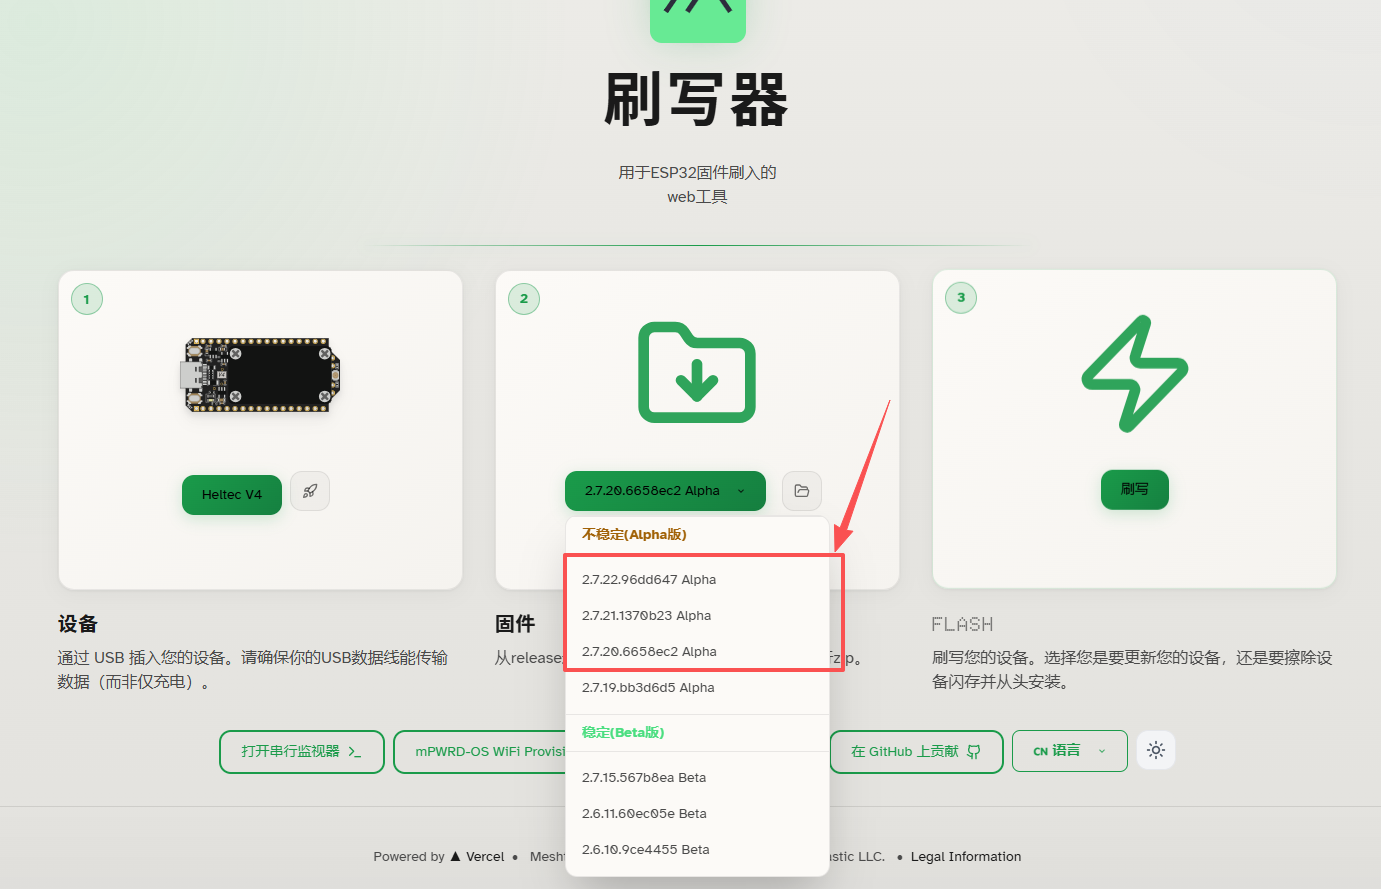
Go to the Meshtastic Web flash page: https://flasher.meshtastic.org/
-
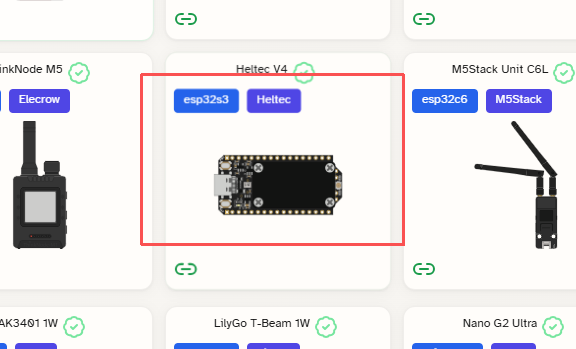
Select Heltec V4
- Select firmware versions 2.7.20 and above.
5.After clicking Flash, select Full Erase and Install, then open the adjacent Meshtastic UI and click Erase Flash and Install. Next, choose the paired serial port and click Connect. The system will then erase the flash memory and automatically download and install the firmware.

Version 2.7.20 defaults to the touchscreen landscape layout, while version 2.7.21 and later default to the touchscreen portrait layout.
Flash via ESP32 Flasher Tool
- Firmware address:
- For usage instructions, please refer to this link: How to use ESP32 Flash Tool
Power
Press and hold the PWR button for 3 seconds to turn the battery on or off.
BaseUI
BaseUI is a simple and power-efficient interface. In this interface, tapping the touchscreen is only used to simulate the function of the USER button.
Button
- USER (Only effective in the touchscreen version of BaseUI)
- Single press: Next option, Wake
- Long press 2 seconds: Enter or select the current option.
- Long press and hold for 5 seconds, then release: Shutdown
- 35(Only effective in the touchscreen version of BaseUI)
- Single press: Back / Return
- Long press: In the main menu, press and hold to "enter the convenient communication page"; in the submenu, longpress to "exit".
Touch Interaction
- Tap on the screen: Next option, Wake(same as USER key)
- Long press on the screen: Confirm / Enter
MUI
MUI is a UI specifically designed for touchscreens. In this UI, the USER button and custom buttons will no longer function.
You can perform control by touching the corresponding areas on the screen.
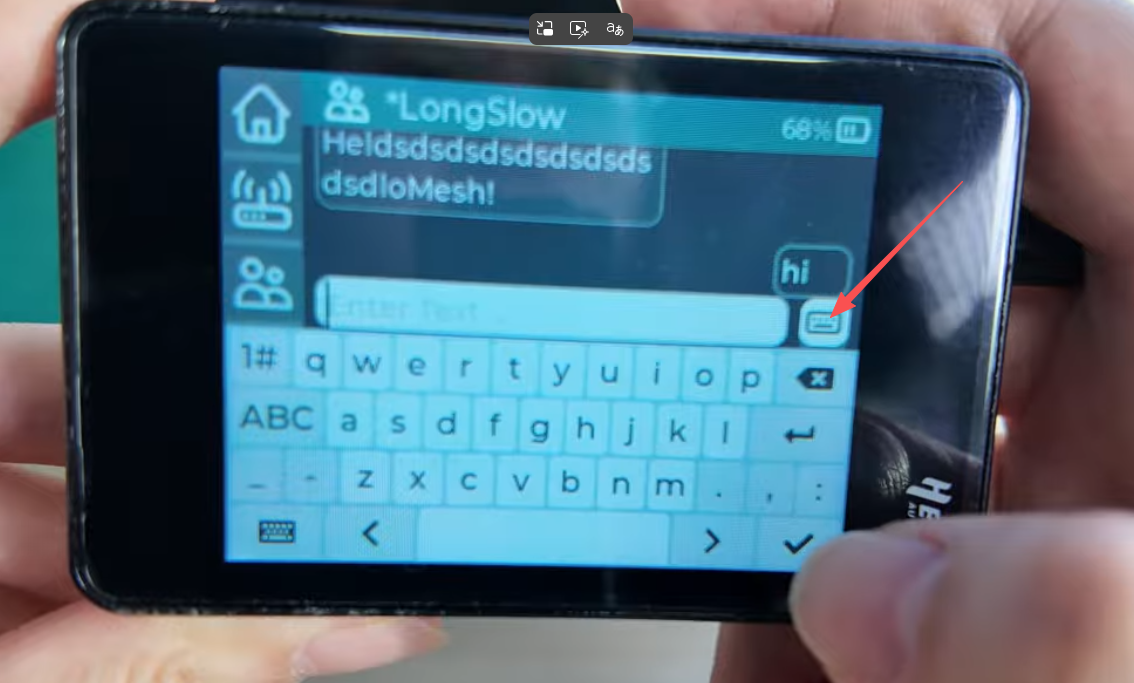
On-Screen Keyboard
When you tap the option you want to output, a keyboard will pop up on the right side, allowing you to start typing.
Bluetooth
In MUI mode, you Cannot use the Bluetooth function.
Wi-Fi
In the "Settings" option of MUI, you can find a "WiFi" option where you can enter WiFi information. However, this WiFi can only be used for MQTT data upload and Cannot be used for connecting to the mobile app.
Switching UI
BaseUI to MUI
- Click USER button, enter the System menu
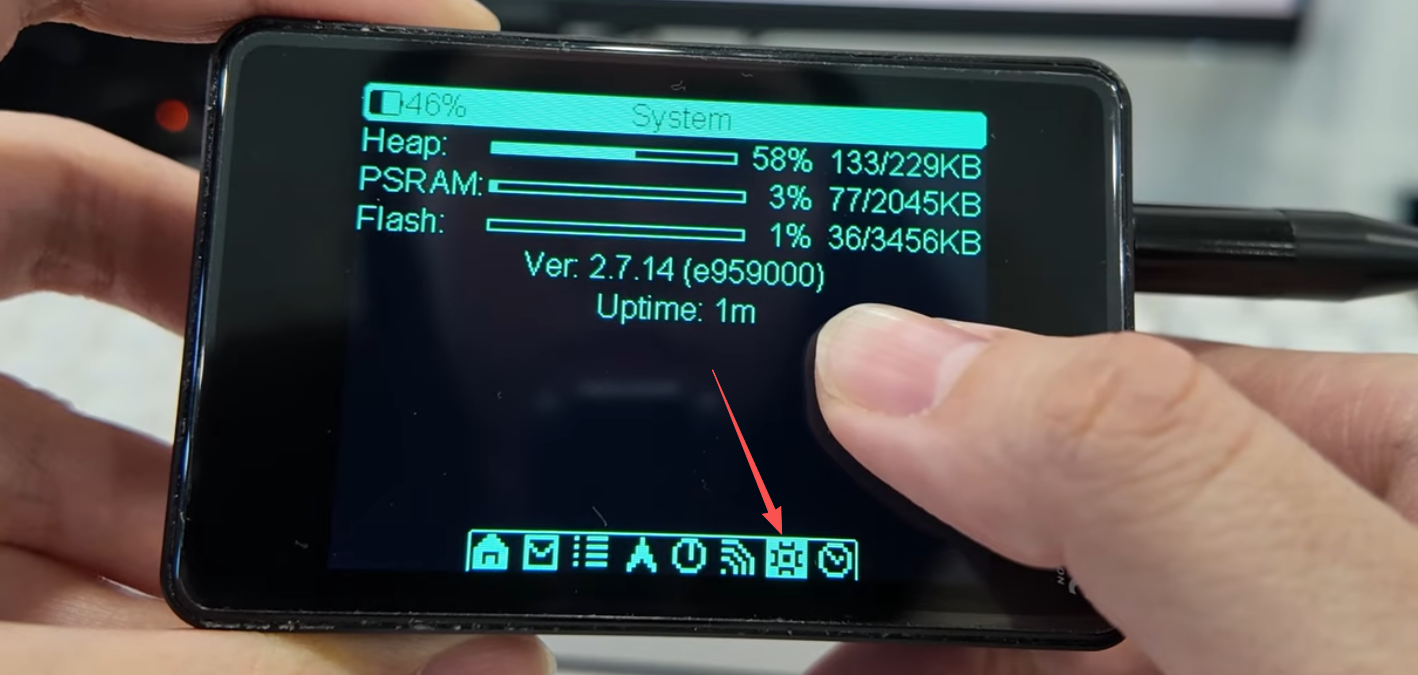
- Long press to open system settings,Click USER button to Reboot/Shutdown
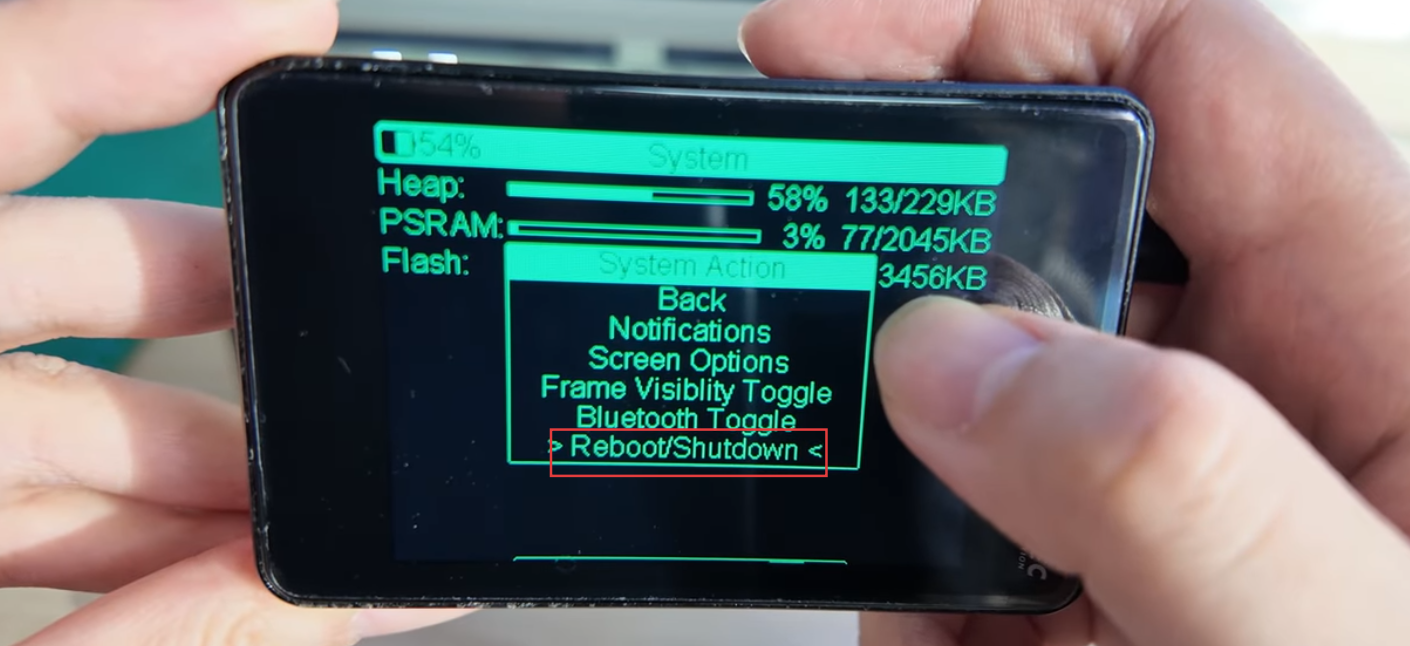
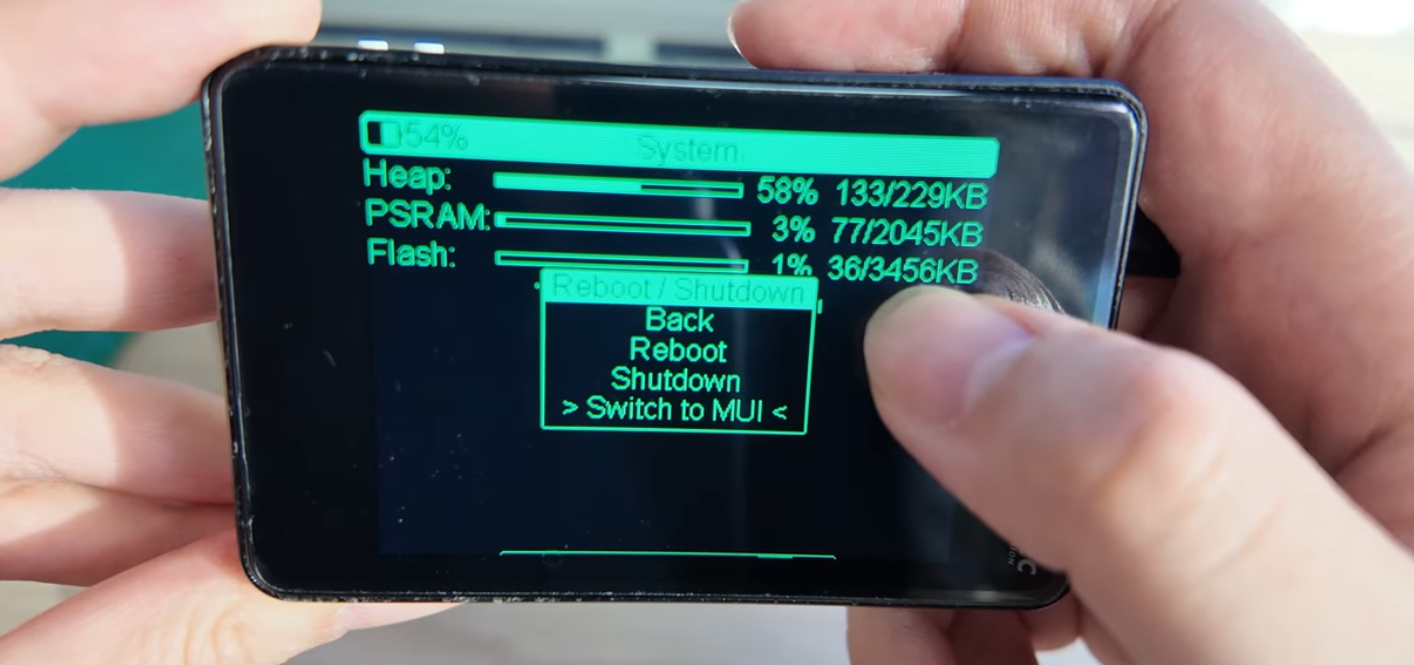
- Long press
USERbutton, open reboot settings. Select Switch to MUI, and confirm with Yes, the device will reboot into MUI.
MUI to BaseUI
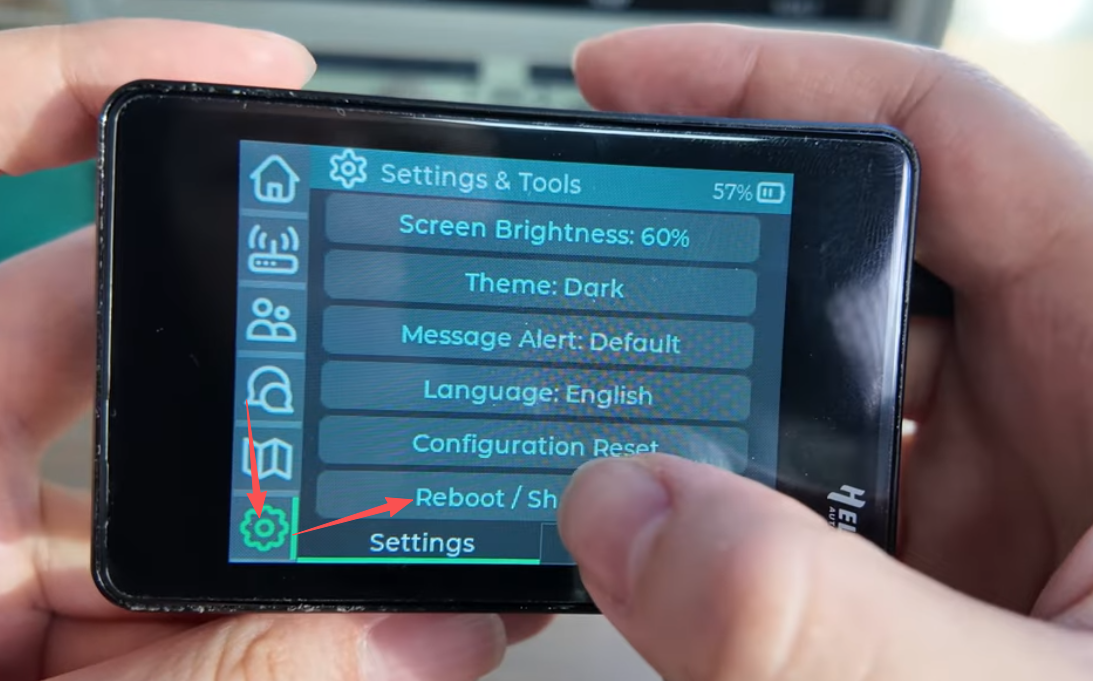
- In MUI, tap the Settings icon, open Reboot/Shutdown
- Press and hold the Bluetooth icon on the screen until the "Switch into BaseUI" prompt appears.
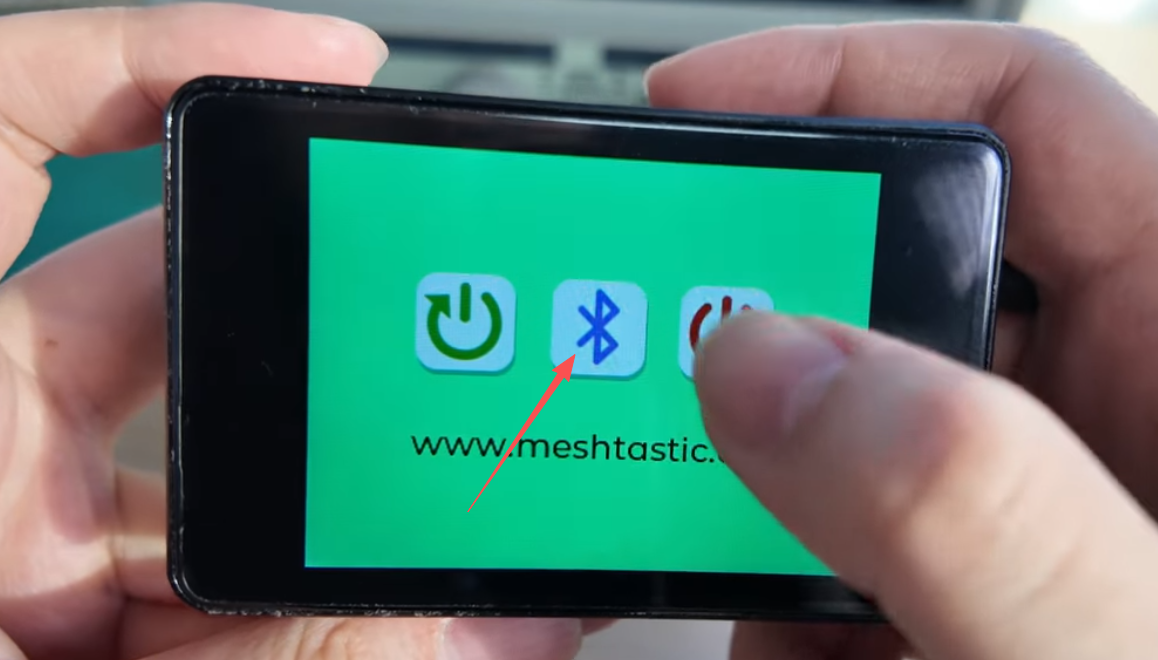
- Select OK
If you accidentally enter the Bluetooth configuration interface, press and hold the Bluetooth icon to return to the MUI interface.
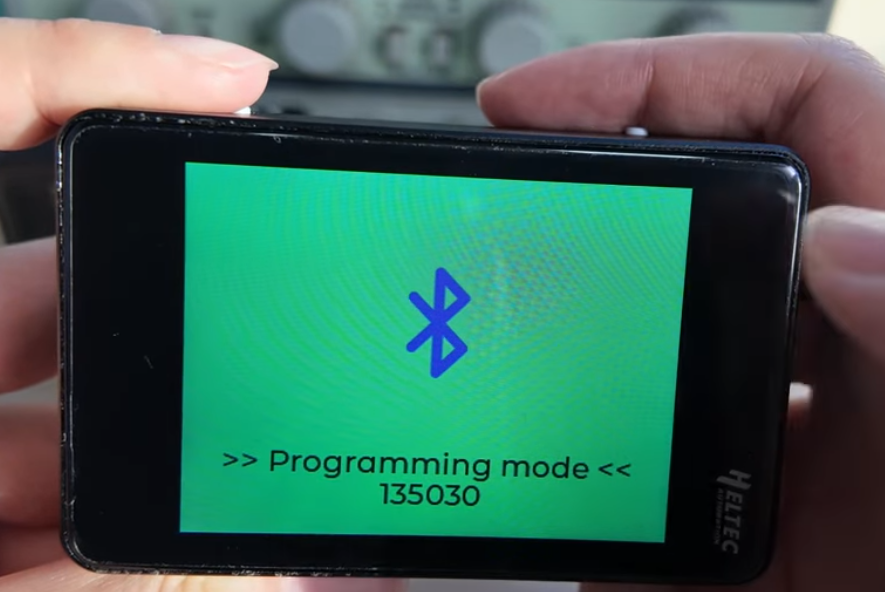
If you accidentally tap the Bluetooth icon, the device will enter Programming mode. If this happens, simply long-press the Bluetooth icon to return to the MUI interface. Once you're back in MUI, you can repeat the steps mentioned above.
For more information, please refer to the official Meshtastic documentation: https://meshtastic.org/docs/introduction/